
Science projects are a fantastic way for students to explore scientific concepts practically. These projects not only improve understanding of concepts but also spark curiosity in their mind. Whether you're preparing for a science fair or just looking to have some educational fun at home, these 10 cool and unique science project ideas are perfect for students who are studying in grades 6-10. Each project comes with detailed instructions, materials list, procedure, and important safety precautions to ensure a successful and safe experience.
1. Newton's Cradle
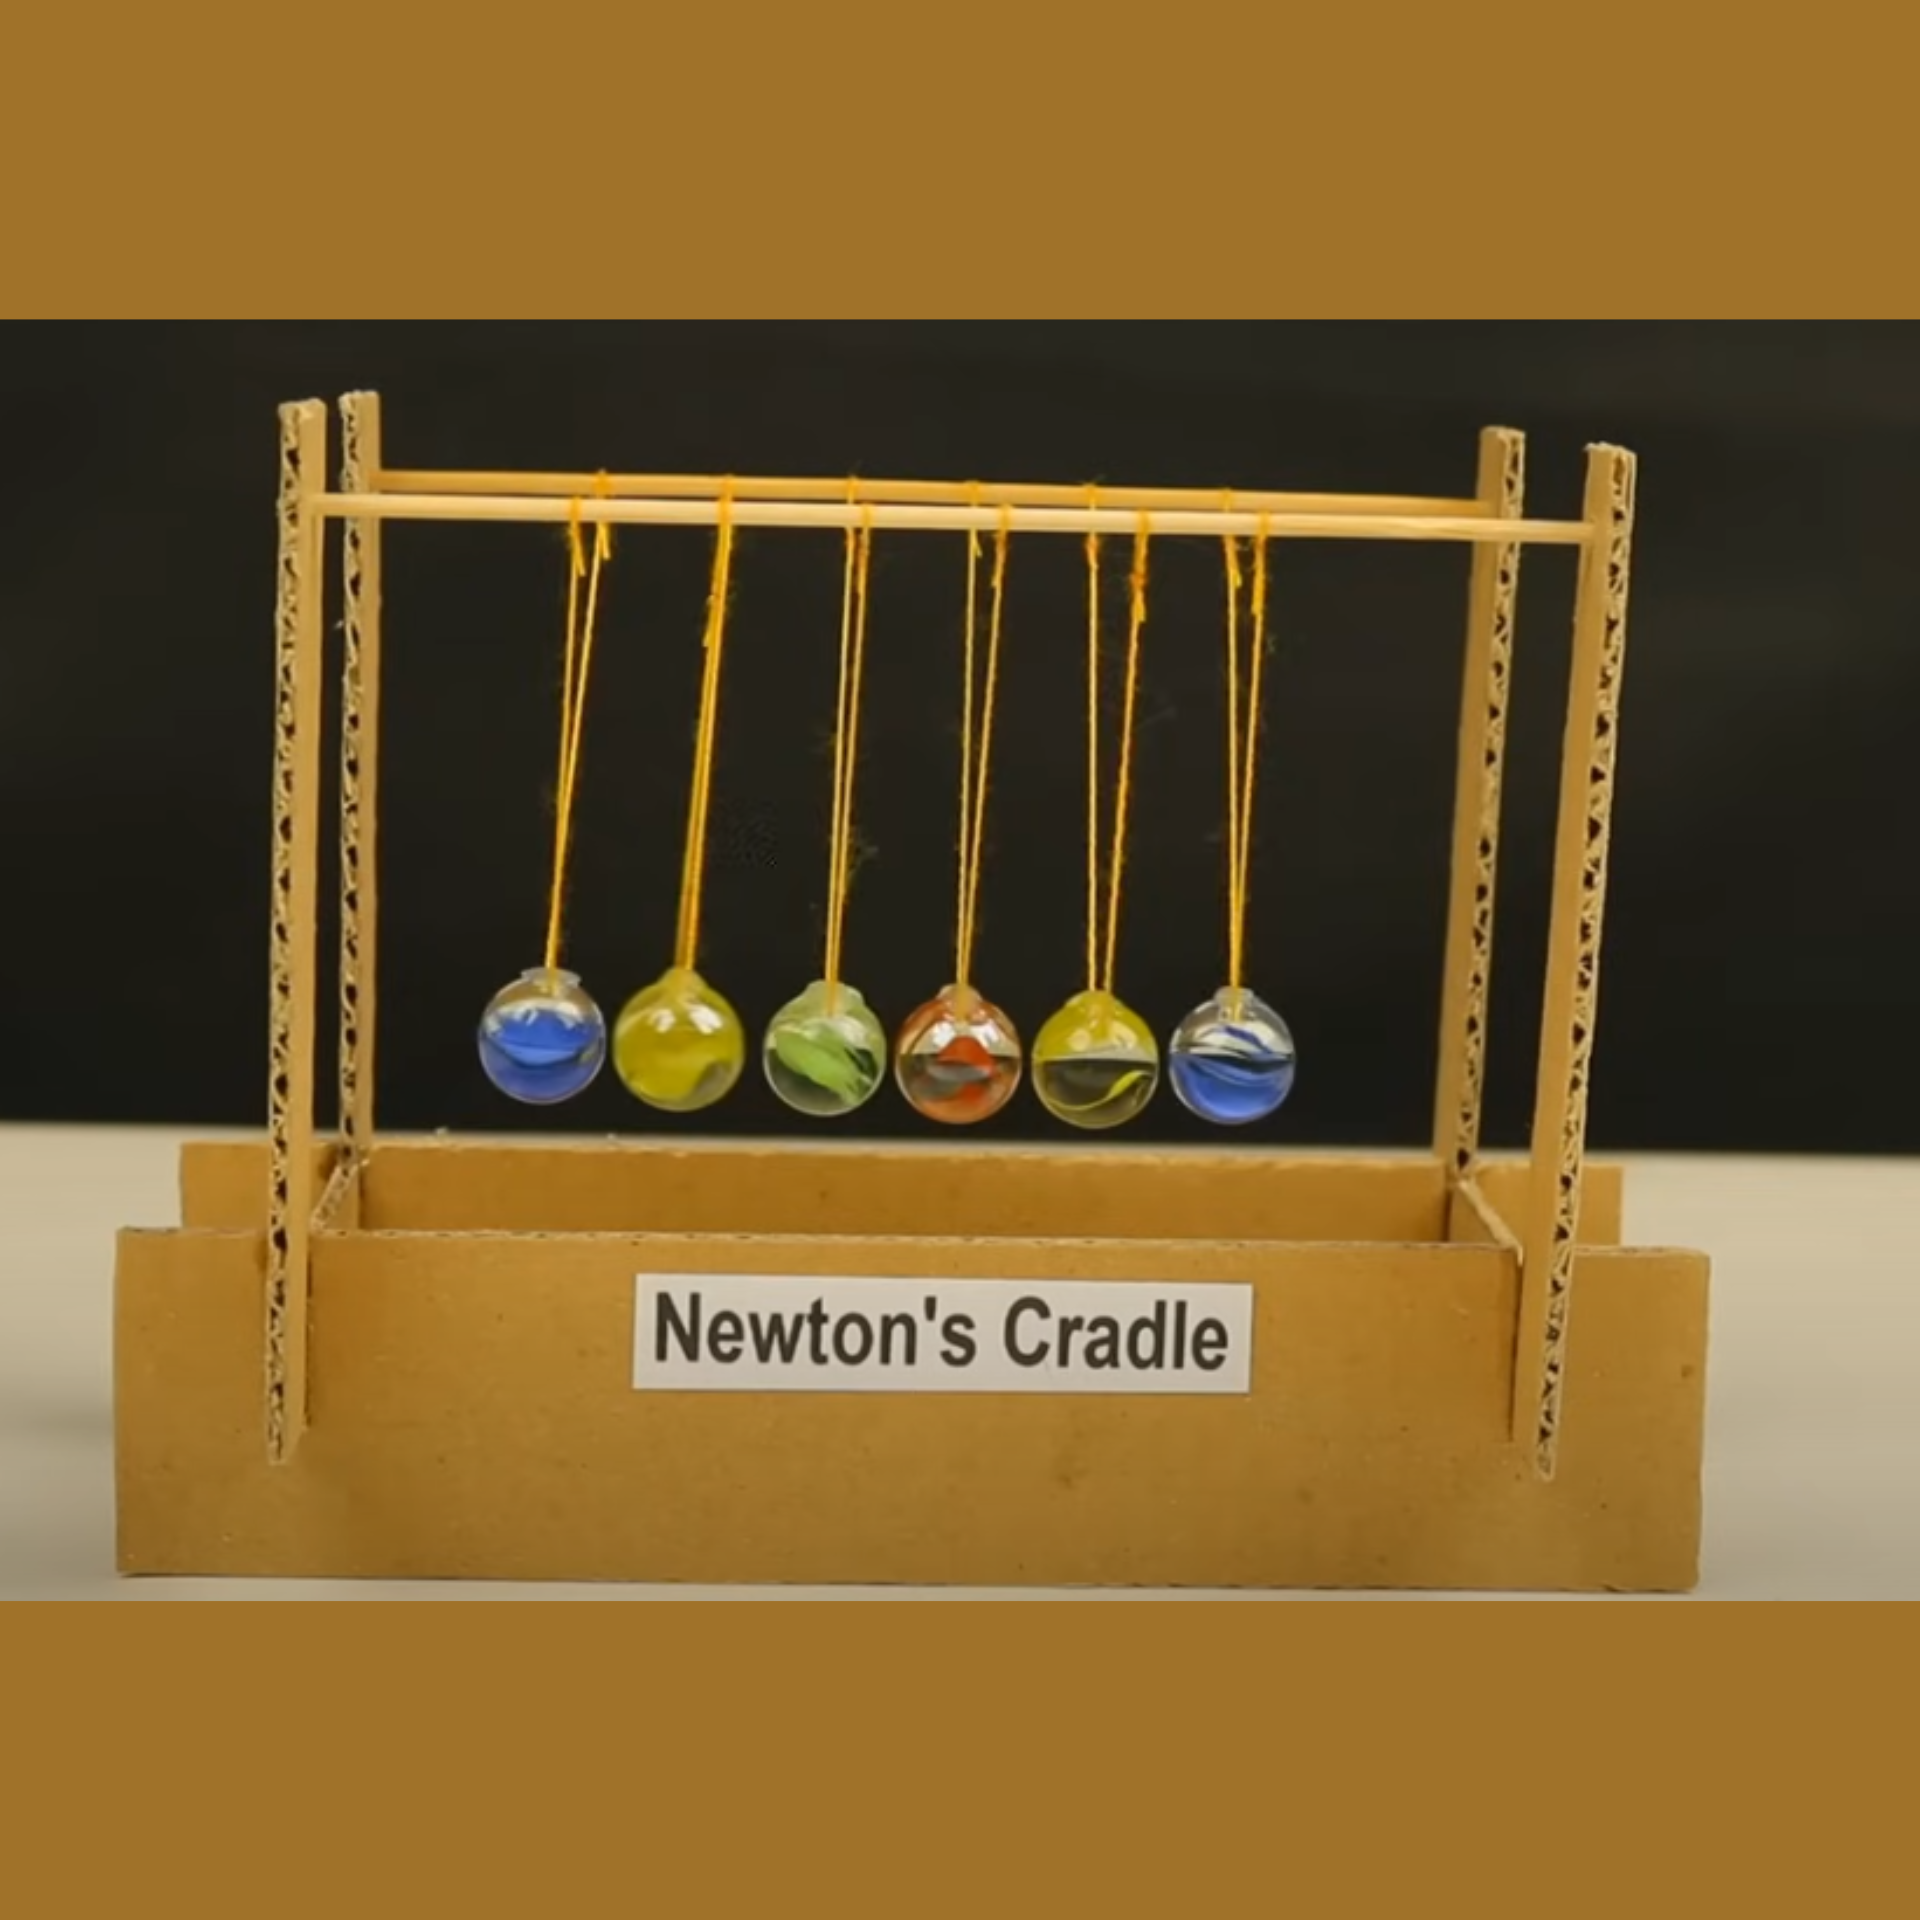
Newton's Cradle or Newton's pendulum is a device which demonstrates conservation of momentum and energy. When one ball on the end is lifted and released, it strikes the next ball, transferring energy through the line until the last ball swings up. This is one of the best science projects for class 6 to 8. You should definitely try this one.
Materials Required:
-
Wooden frame or base you can make using cardboards
-
5 marbles of equal size and weight
-
A thin string
-
Hot glue gun
-
2 Sticks
-
Scissors
Procedure:
-
Build a rectangular frame with a top bar for hanging the balls.
-
Attach two sticks on the top
-
Cut 10 equal lengths of fishing line.
-
Glue the strings on marbles using a hot glue gun for each ball.
-
Tie the lines through the holes, ensuring all balls hang at the same height.
-
Adjust the lines so the balls just touch each other when hanging still.
Precautions:
-
Be careful when drilling holes in the wood.
-
Ensure the frame is stable to prevent tipping during demonstrations.
-
Keep small parts away from younger children.
2. Rain Sensor
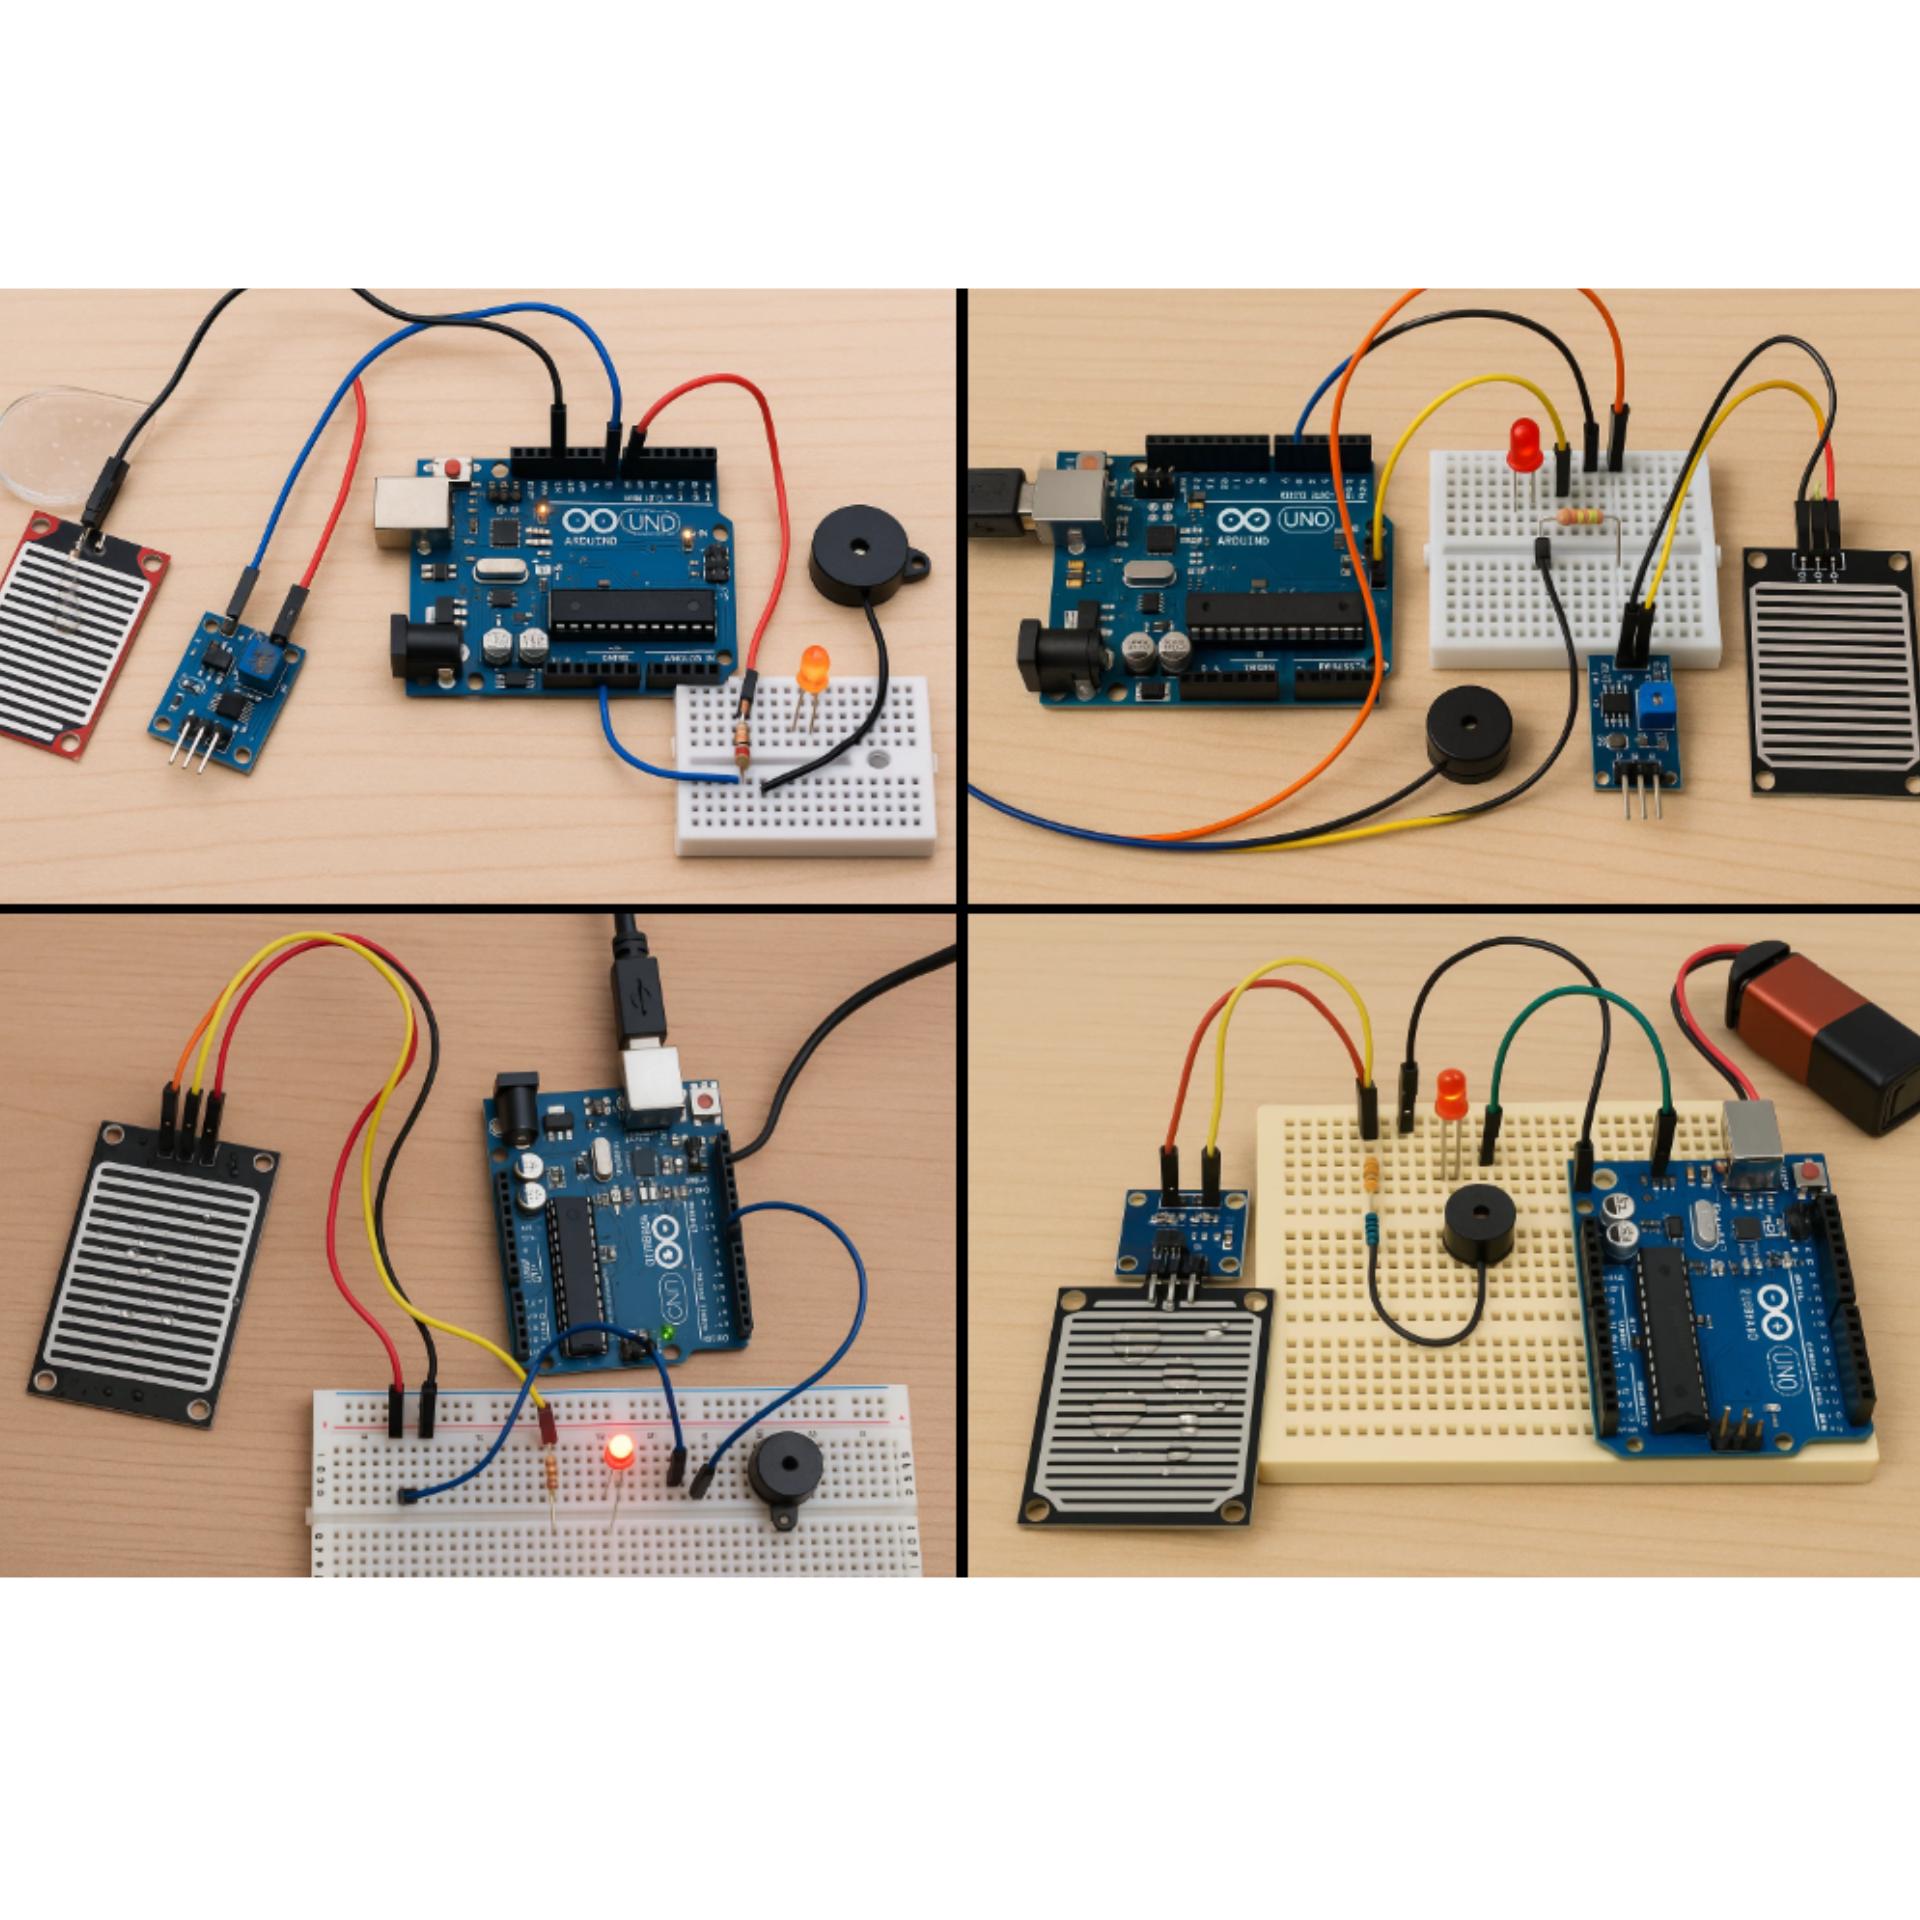
A rain detector project teaches students about electrical conductivity and how to create a simple circuit that responds to environmental changes. This is best among science project ideas for class 10. Students who are able to make this will not only win the prize but also be able to understand the concept better.
Materials Required:
-
Arduino board (or similar microcontroller)
-
Rain sensor module
-
Connecting wires
-
Breadboard
-
LED lights
-
Resistors (220 ohm)
-
Battery or power source
-
Small buzzer (optional)
Procedure:
-
Connect the rain sensor to the Arduino using the connecting wires.
-
Set up the LED and buzzer circuit on the breadboard.
-
Program the Arduino to read signals from the rain sensor.
-
Set up conditions: when water is detected, the LED lights up and/or buzzer sounds.
-
Test the sensor by sprinkling water on it.
Precautions:
-
Keep all electronic components away from water except the sensor detection area.
-
Handle the Arduino board carefully to avoid static damage.
-
Always disconnect power before making circuit changes.
3. DIY Hydro Power Plant
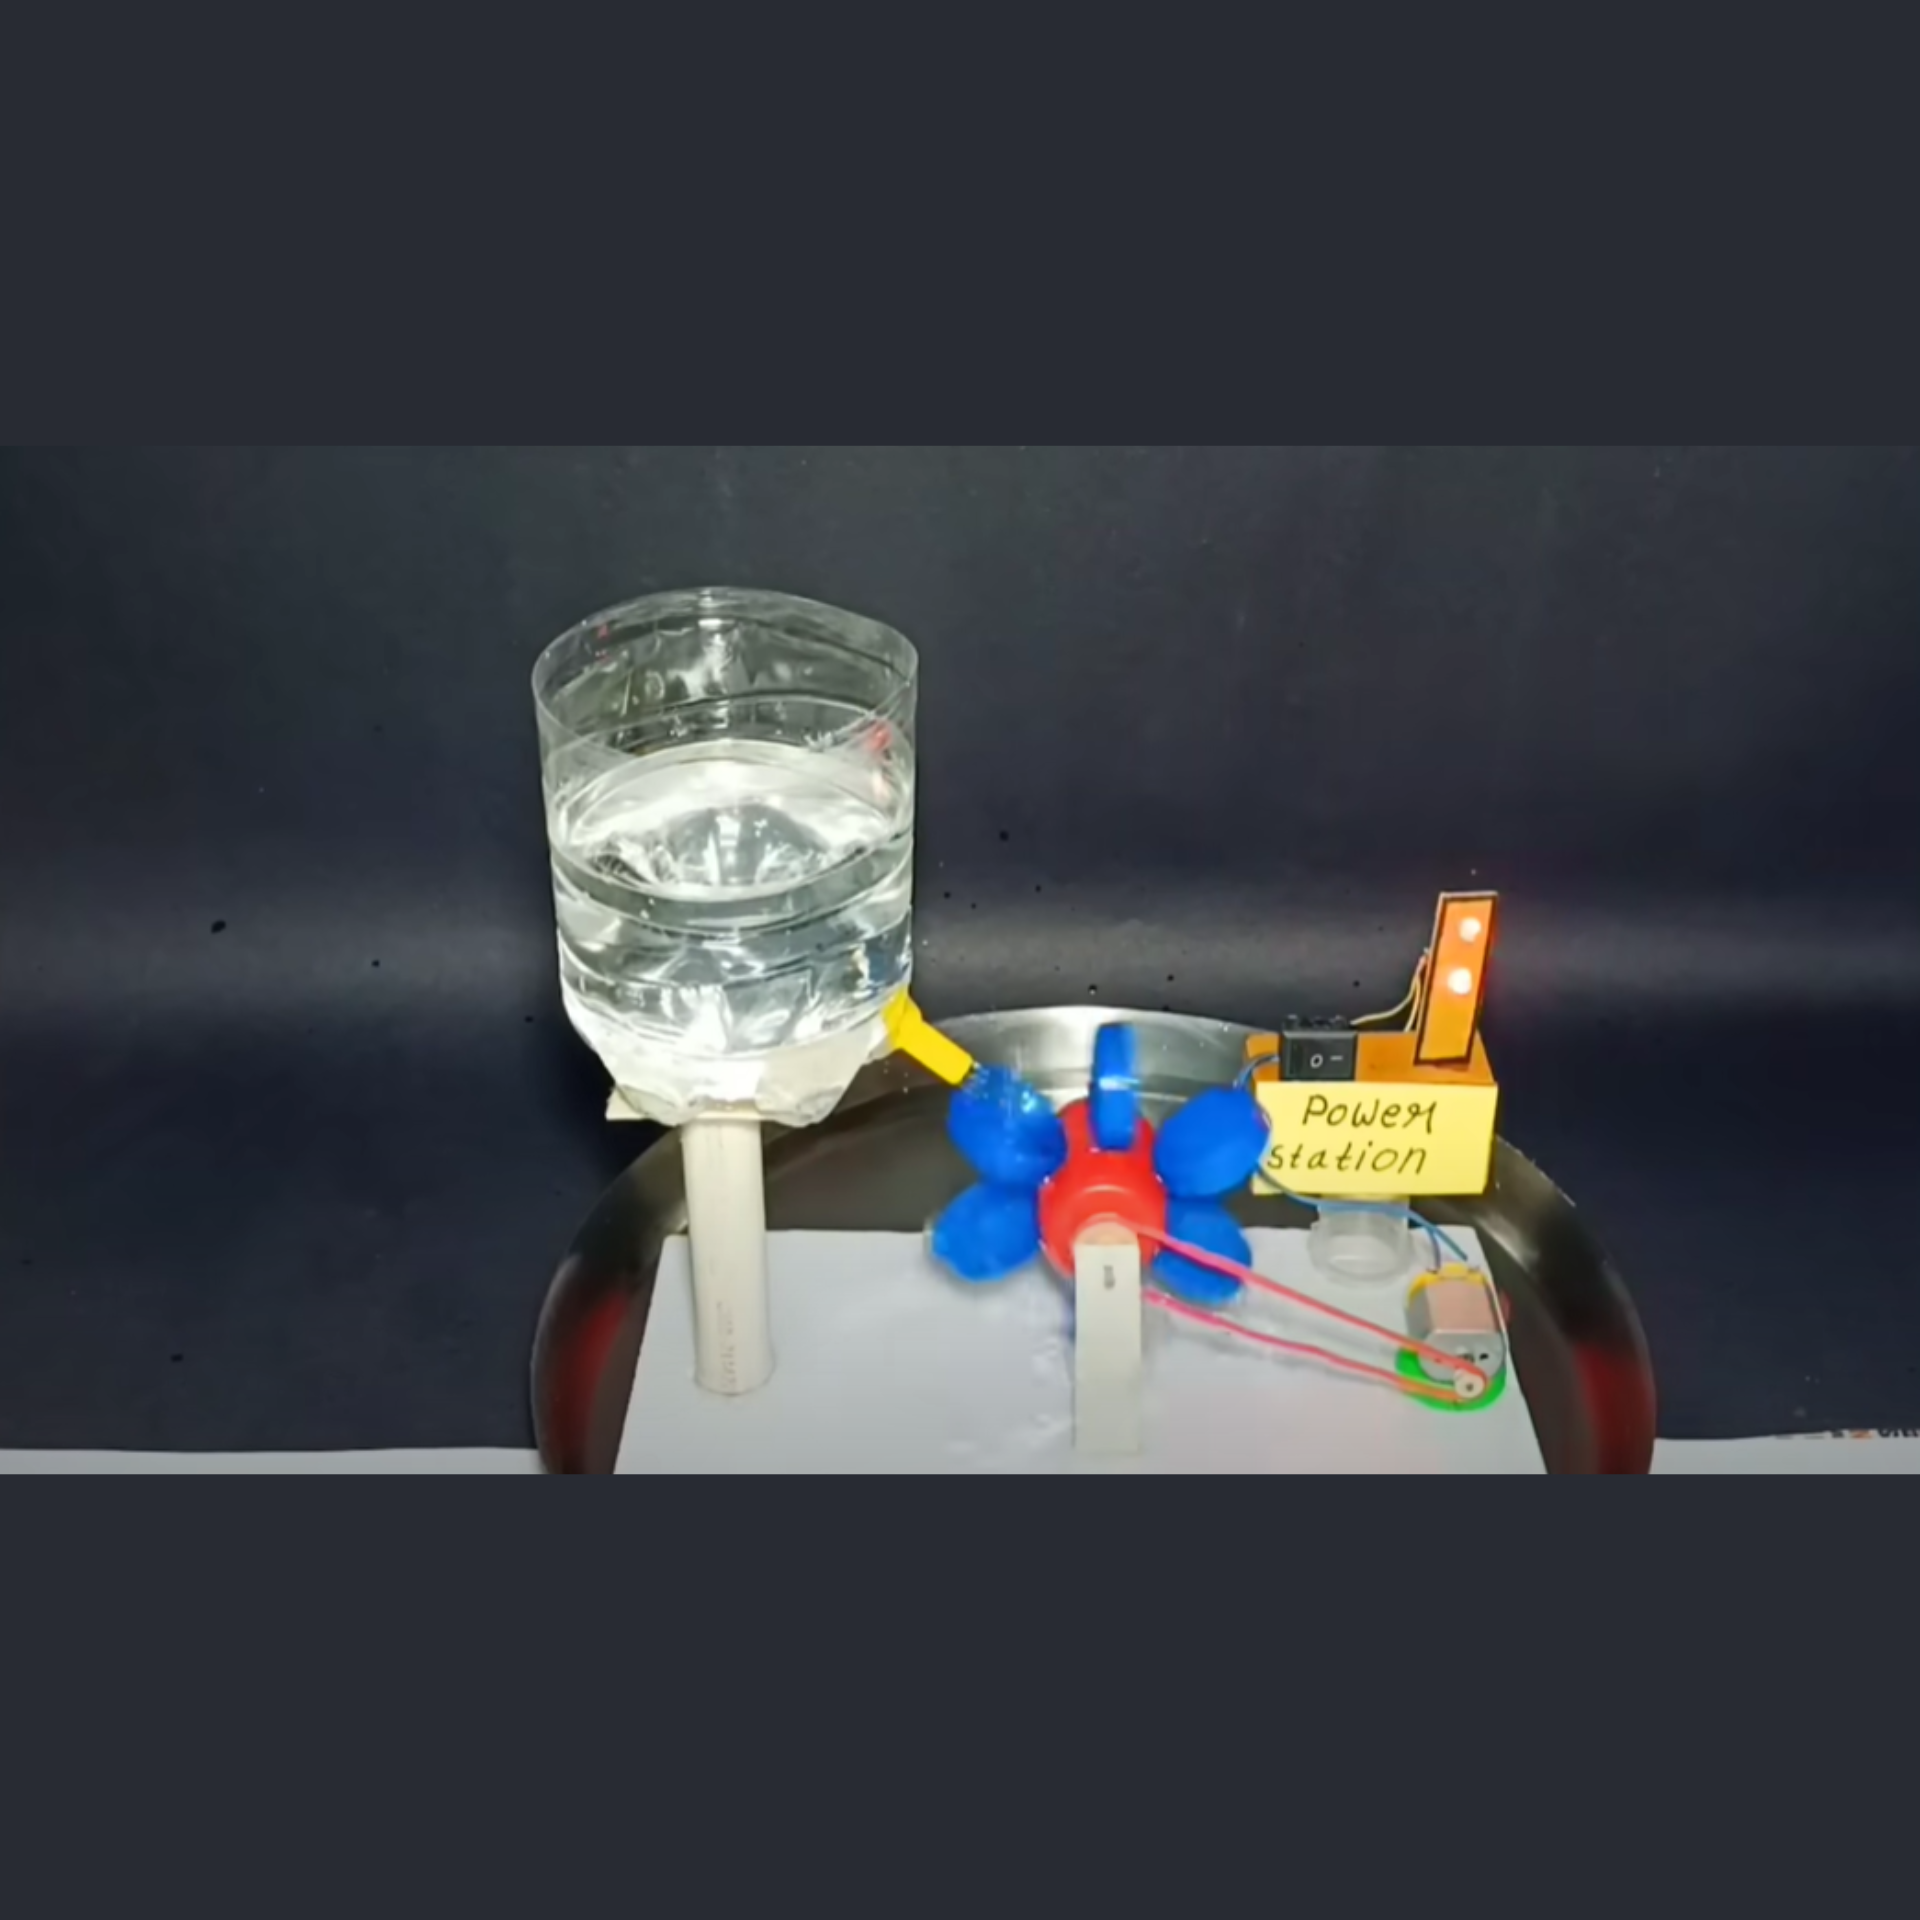
This project demonstrates how flowing water can be converted into electrical energy – a clean, renewable energy source.
Materials Required:
-
Plastic bottles or containers
-
Small DC motor
-
Small plastic or wooden water wheel
-
LED lights
-
Connecting wires
-
Hot glue gun
-
Scissors or craft knife
-
Plastic tubing
Procedure:
-
Cut the plastic bottle to create a water channel.
-
Construct a water wheel that fits the motor shaft.
-
Mount the motor securely near the water flow path.
-
Connect LED lights to the motor using wires.
-
Position the waterwheel so water can flow over it.
-
Test by pouring water through the channel to turn the wheel.
Precautions:
-
Use caution with scissors and craft knives.
-
Keep electrical connections away from water.
-
Work on a waterproof surface to avoid damage.
4. Volcano Eruption Experiment
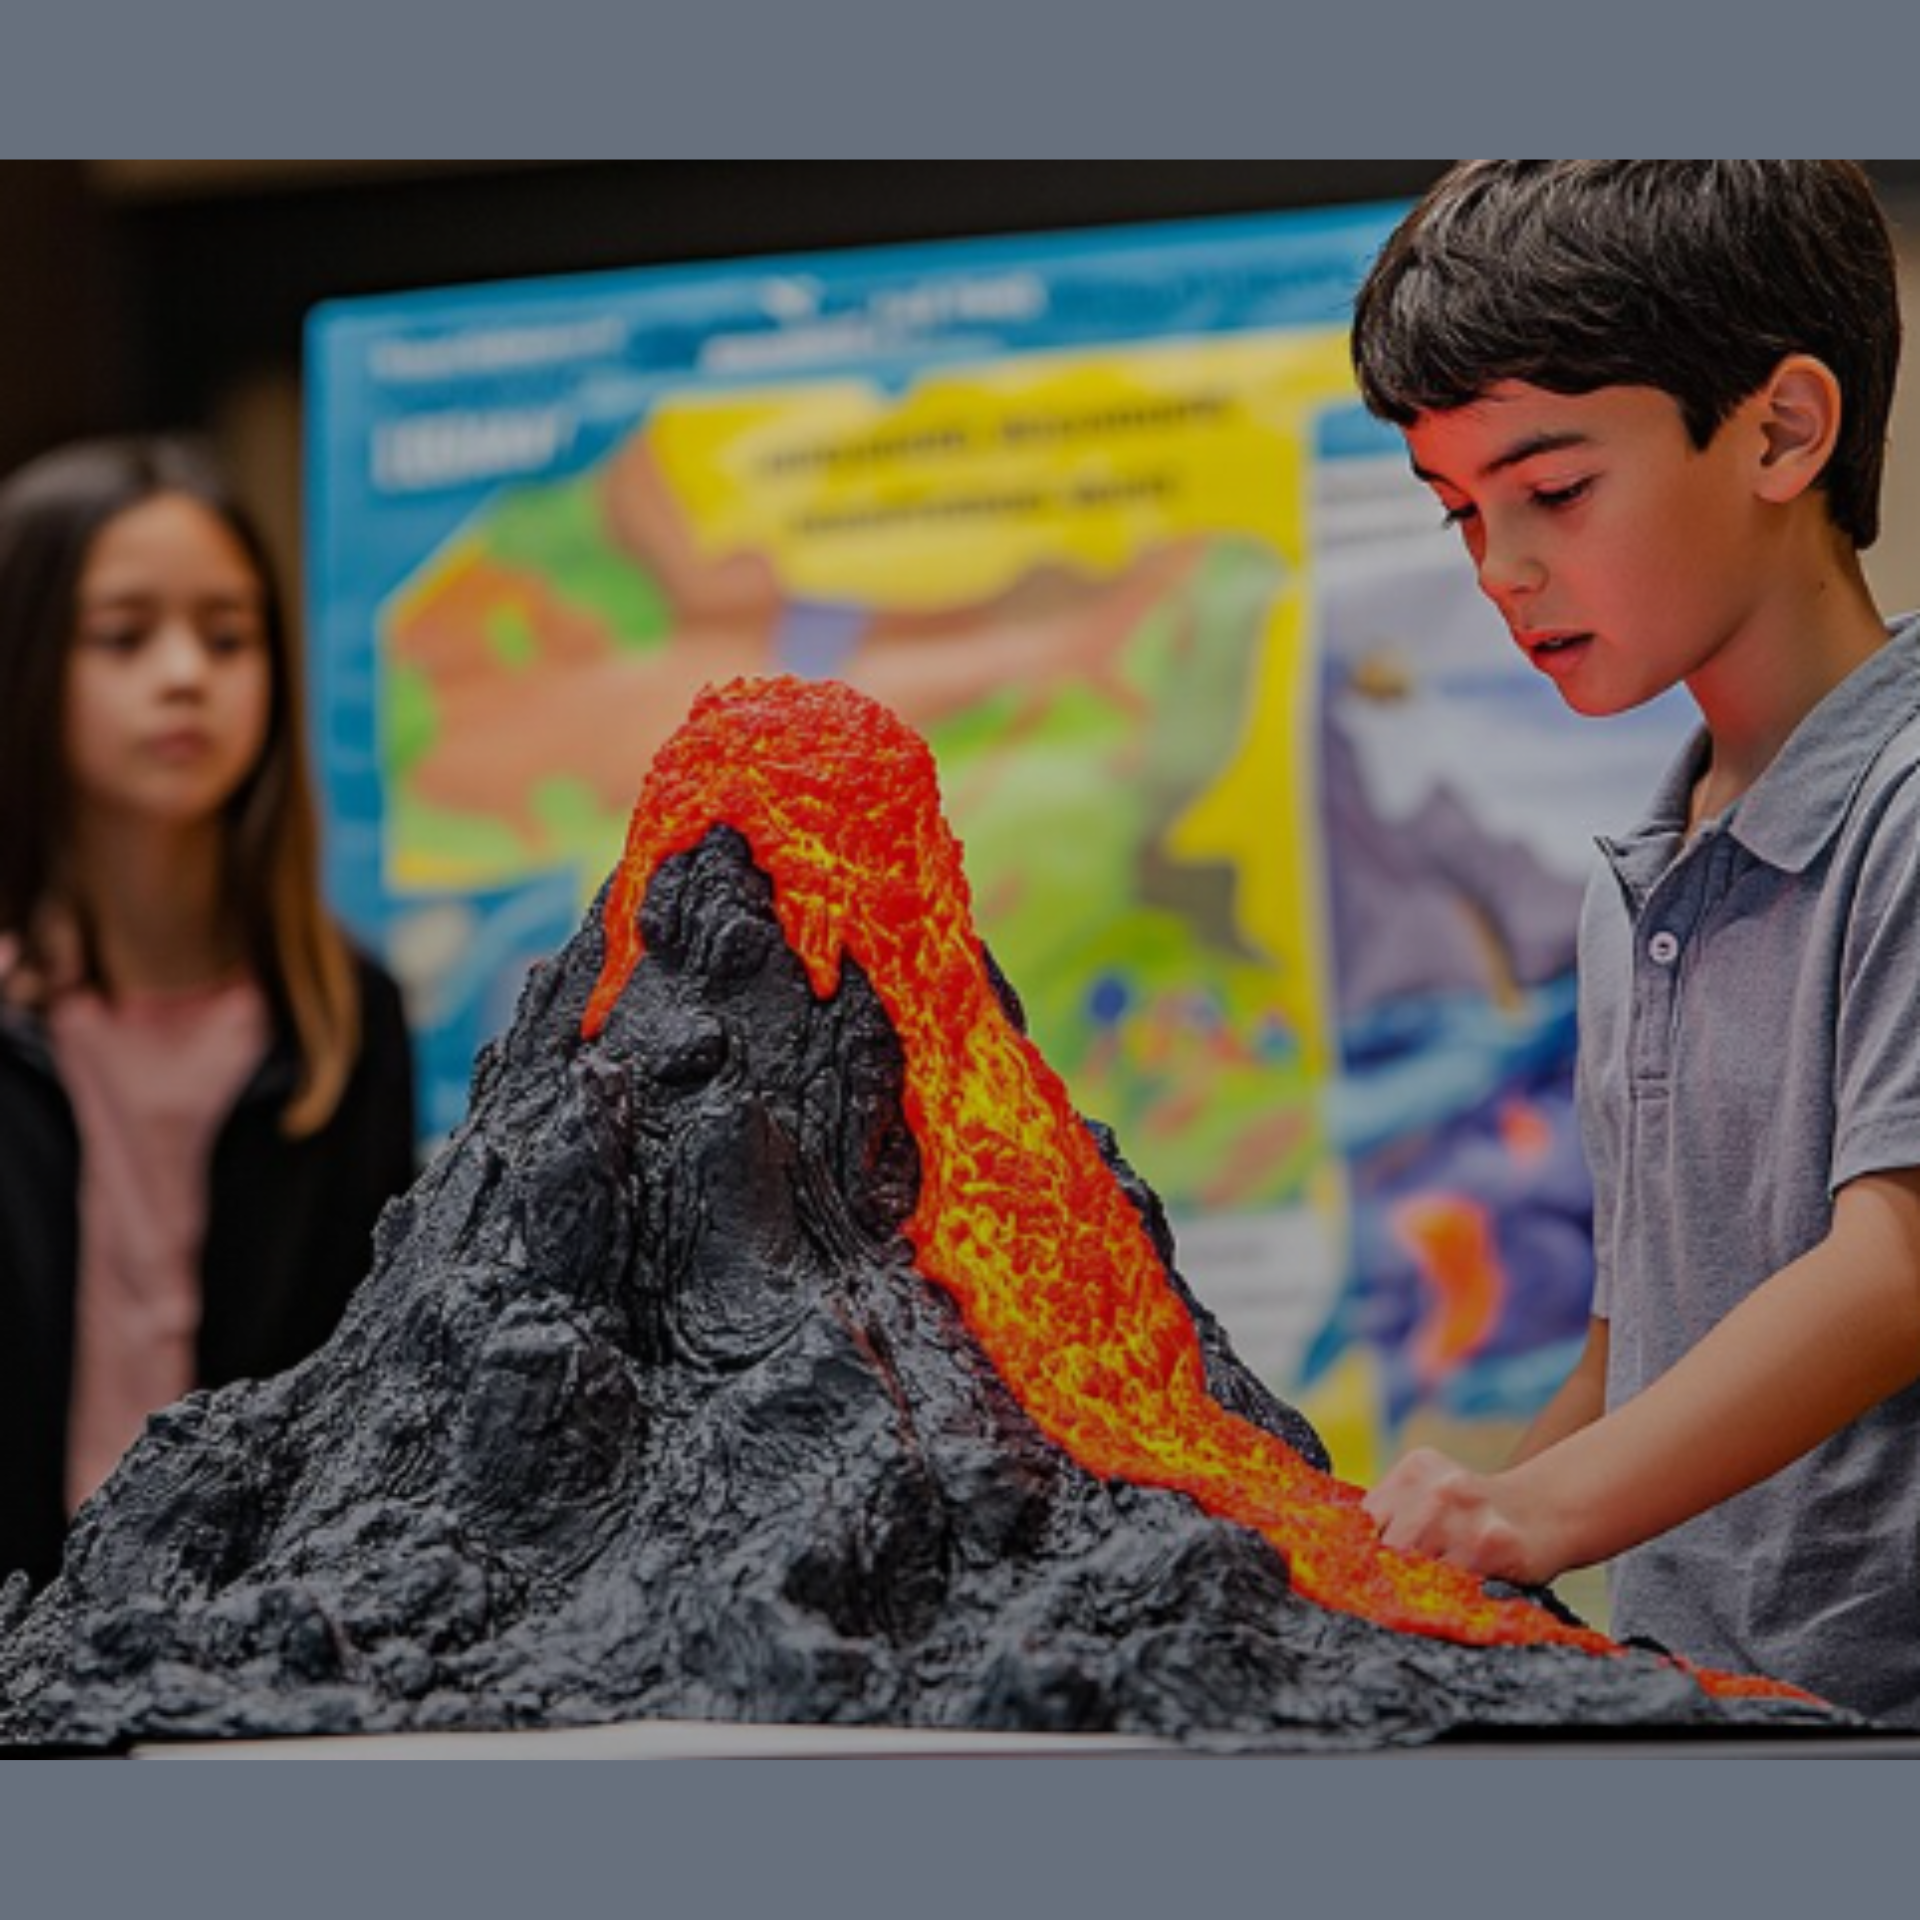
The classic volcano model is always a crowd-pleaser and teaches students about chemical reactions.
Materials Required:
-
Baking soda
-
Vinegar
-
Red food coloring
-
Dish soap
-
Clay or papier-mâché
-
Plastic bottle
-
Baking pan or tray
-
Funnel
Procedure:
-
Place the plastic bottle in the center of the tray.
-
Build a volcano shape around the bottle using clay or papier-mâché.
-
Allow the volcano structure to dry completely.
-
When ready for eruption, pour 2 tablespoons of baking soda into the bottle.
-
Add a few drops of red food coloring and a squirt of dish soap.
-
Quickly pour in vinegar (about 1/4 cup) and step back.
Precautions:
-
Perform the eruption outdoors or in an easy-to-clean area.
-
Avoid getting vinegar in your eyes; rinse immediately if contact occurs.
-
Keep materials away from small children.
5. Static Electricity Project
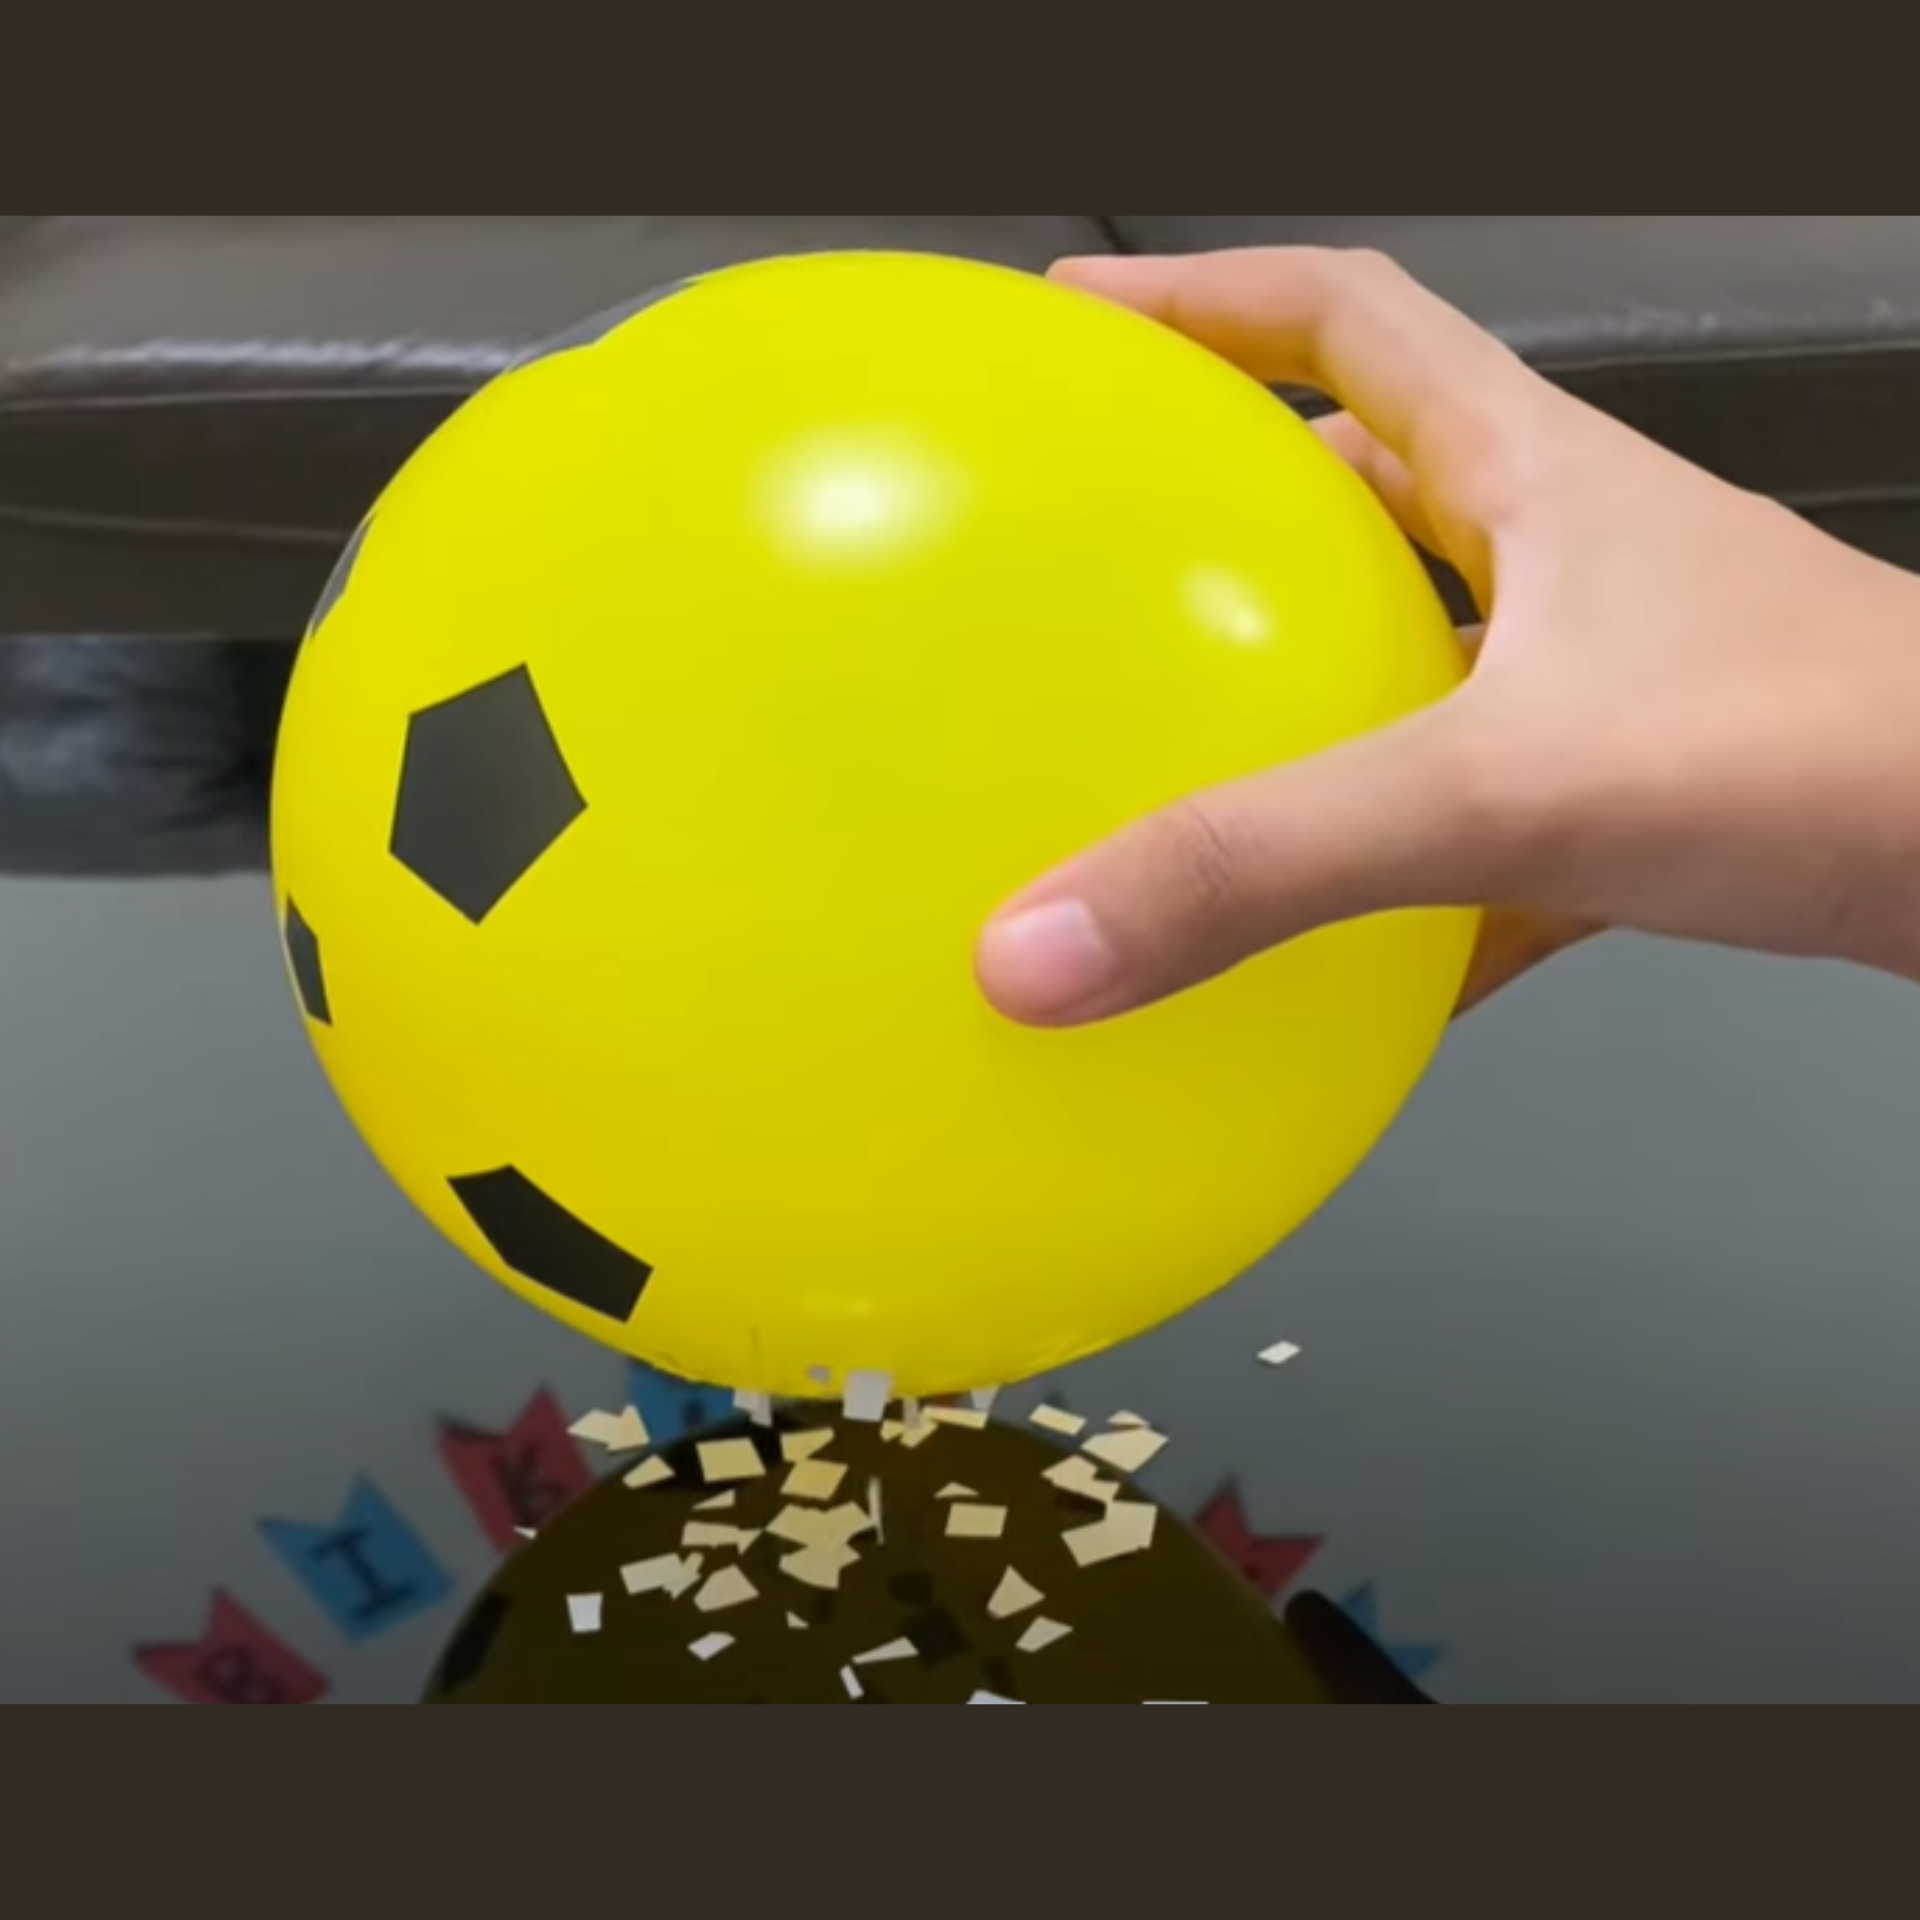
This project demonstrates how different materials create and hold static electrical charges.
Materials Required:
-
Balloons
-
Various materials for testing (wool sock, cotton cloth, silk scarf, plastic wrap)
-
Construction paper
-
Hole puncher
-
Ruler
-
Masking tape
Procedure:
-
Punch 100 dots from construction paper.
-
Mark a 6-inch square on a tabletop with masking tape.
-
Spread the dots evenly within the square.
-
Inflate a balloon.
-
Rub the balloon against different materials for 10 seconds each.
-
Hold the balloon one inch above the paper dots and count how many dots jump to the balloon.
-
Record results for each material tested.
Precautions:
-
Keep balloons away from small children to prevent choking hazards.
-
Work in a dry environment for best results.
-
Never conduct static electricity experiments near flammable materials or electronics.
6. Glowing Lava Lamp
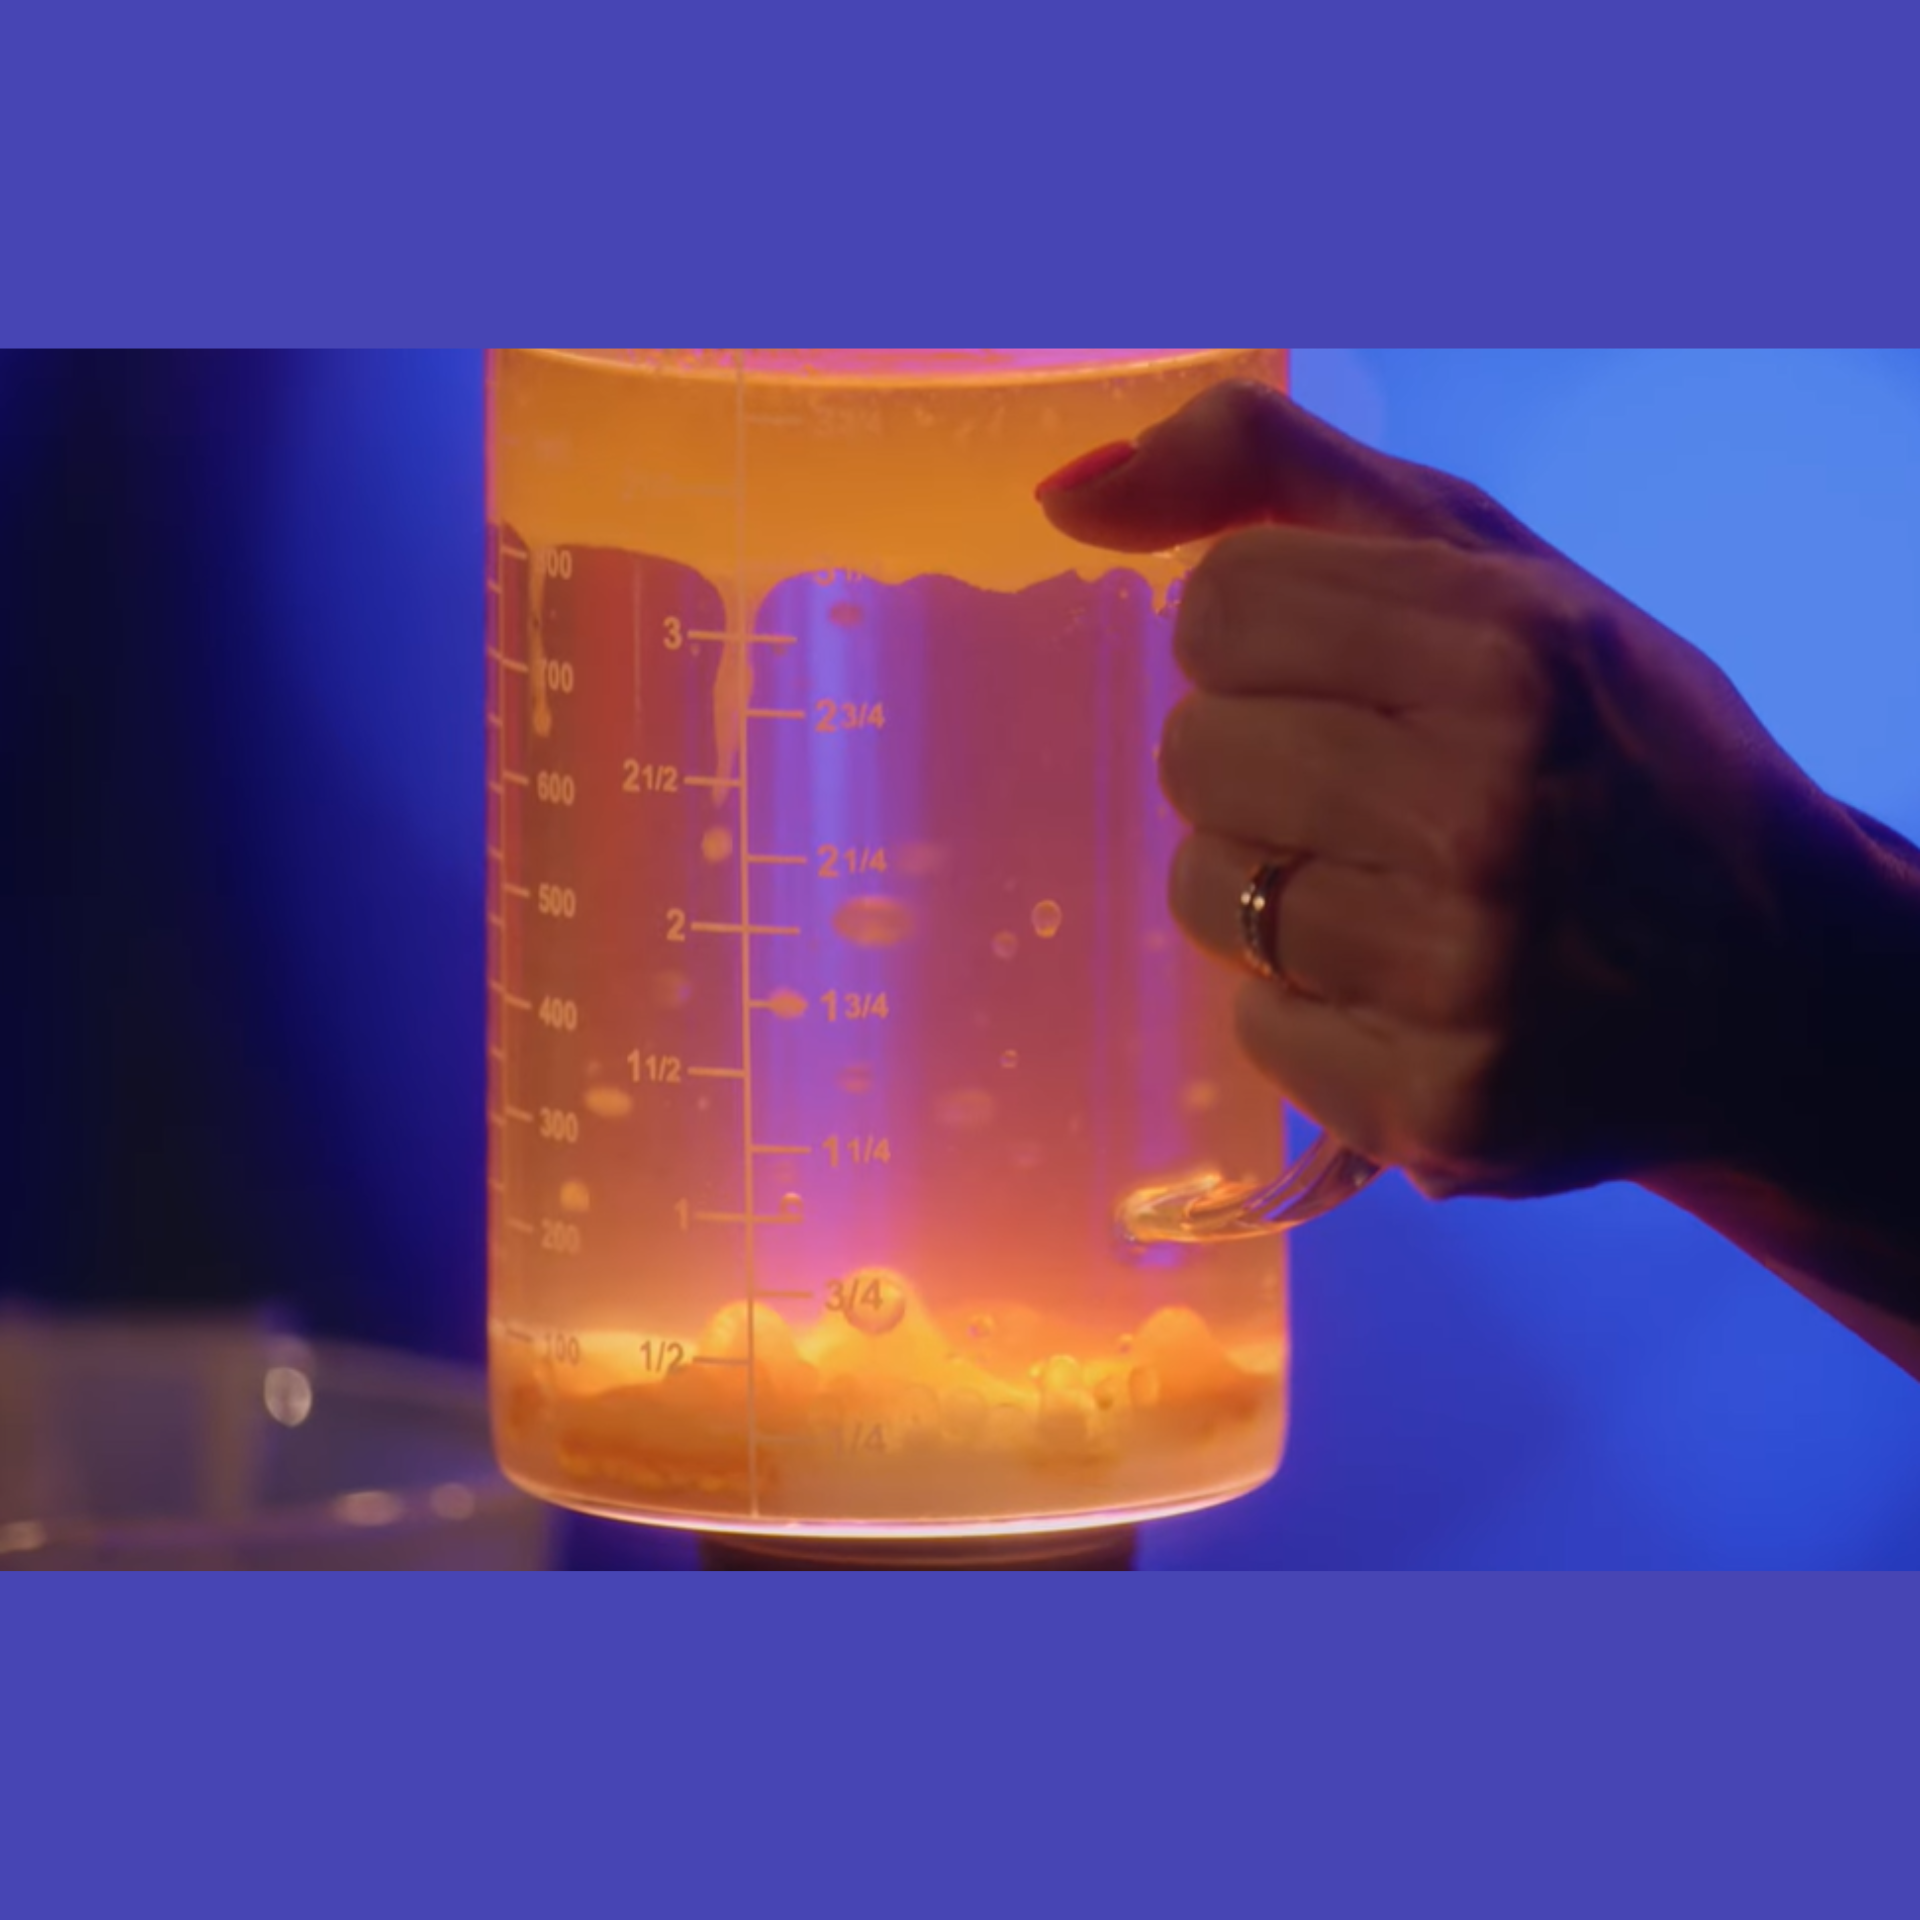
Create a colorful, bubbling display while learning about density and chemical reactions.
Materials Required:
-
Clear bottle or container
-
Vegetable oil
-
Water
-
Food coloring
-
Alka-Seltzer tablets
-
Flashlight or LED light
Procedure:
-
Fill the bottle about 2/3 full with vegetable oil.
-
Add water until the bottle is nearly full.
-
Add several drops of food coloring.
-
Break an Alka-Seltzer tablet into 4 pieces.
-
Drop one piece into the bottle and observe the reaction.
-
For the glowing effect, shine a flashlight through the bottle in a darkened room.
Precautions:
-
Keep all materials away from heat sources.
-
Do not drink the mixture.
-
Dispose of the mixture properly after the experiment.
7. Robot Hand
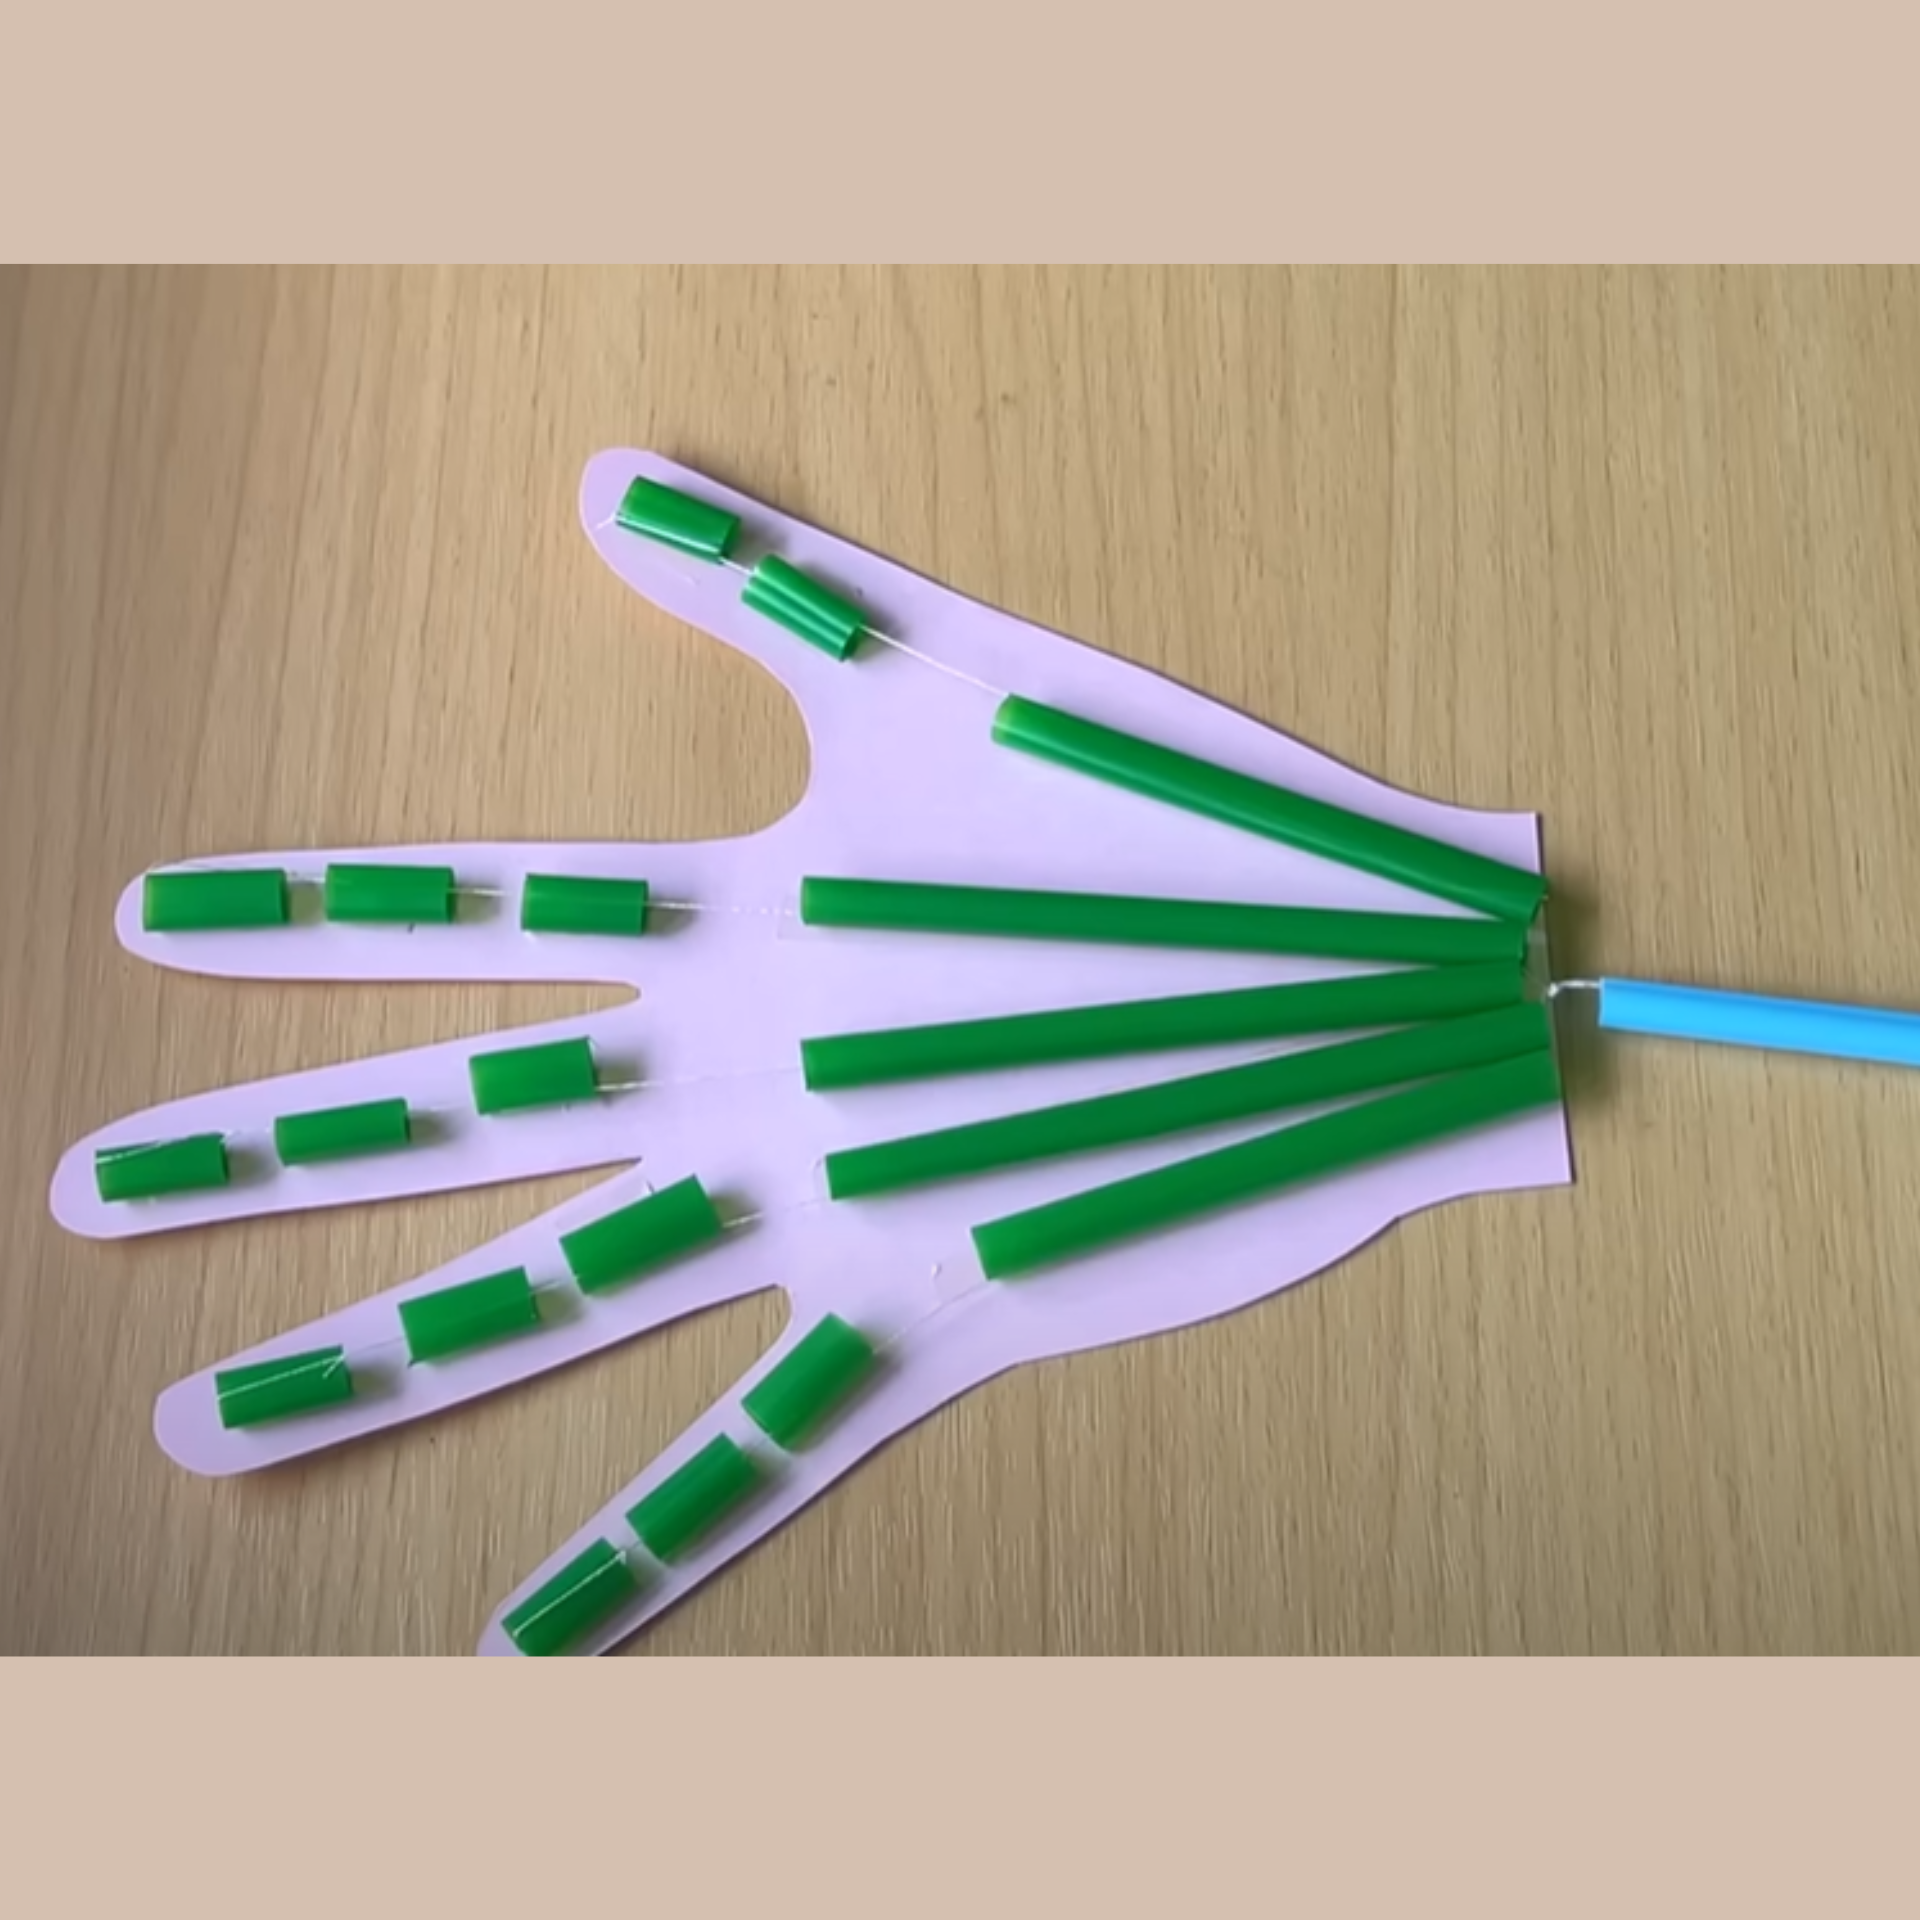
You might be thinking “how to make robot hand”, Here you ll get an clear idea on this. While Building a robot hand teaches principles of biomechanics and shows how tendons and muscles work together.
Materials Required:
|
Item |
Quantity |
|
Cardboard |
1 large sheet |
|
Drinking straws |
10 |
|
String |
1 roll |
|
Tape |
1 roll |
|
Scissors |
1 pair |
|
Hot glue gun |
1 |
|
Markers |
Set of 5 |
Procedure:
-
Trace your hand on cardboard and cut out the shape.
-
Cut straws into segments for finger joints.
-
Attach straw segments to the cardboard fingers with tape or glue.
-
Thread string through the straws for each finger.
-
Secure one end of the strings at the fingertips.
-
Pull the strings to see the fingers bend.
Precautions:
-
Use caution with scissors and a hot glue gun.
-
Adult supervision recommended for younger students.
-
Keep small parts away from younger children.
8. Water Purification System
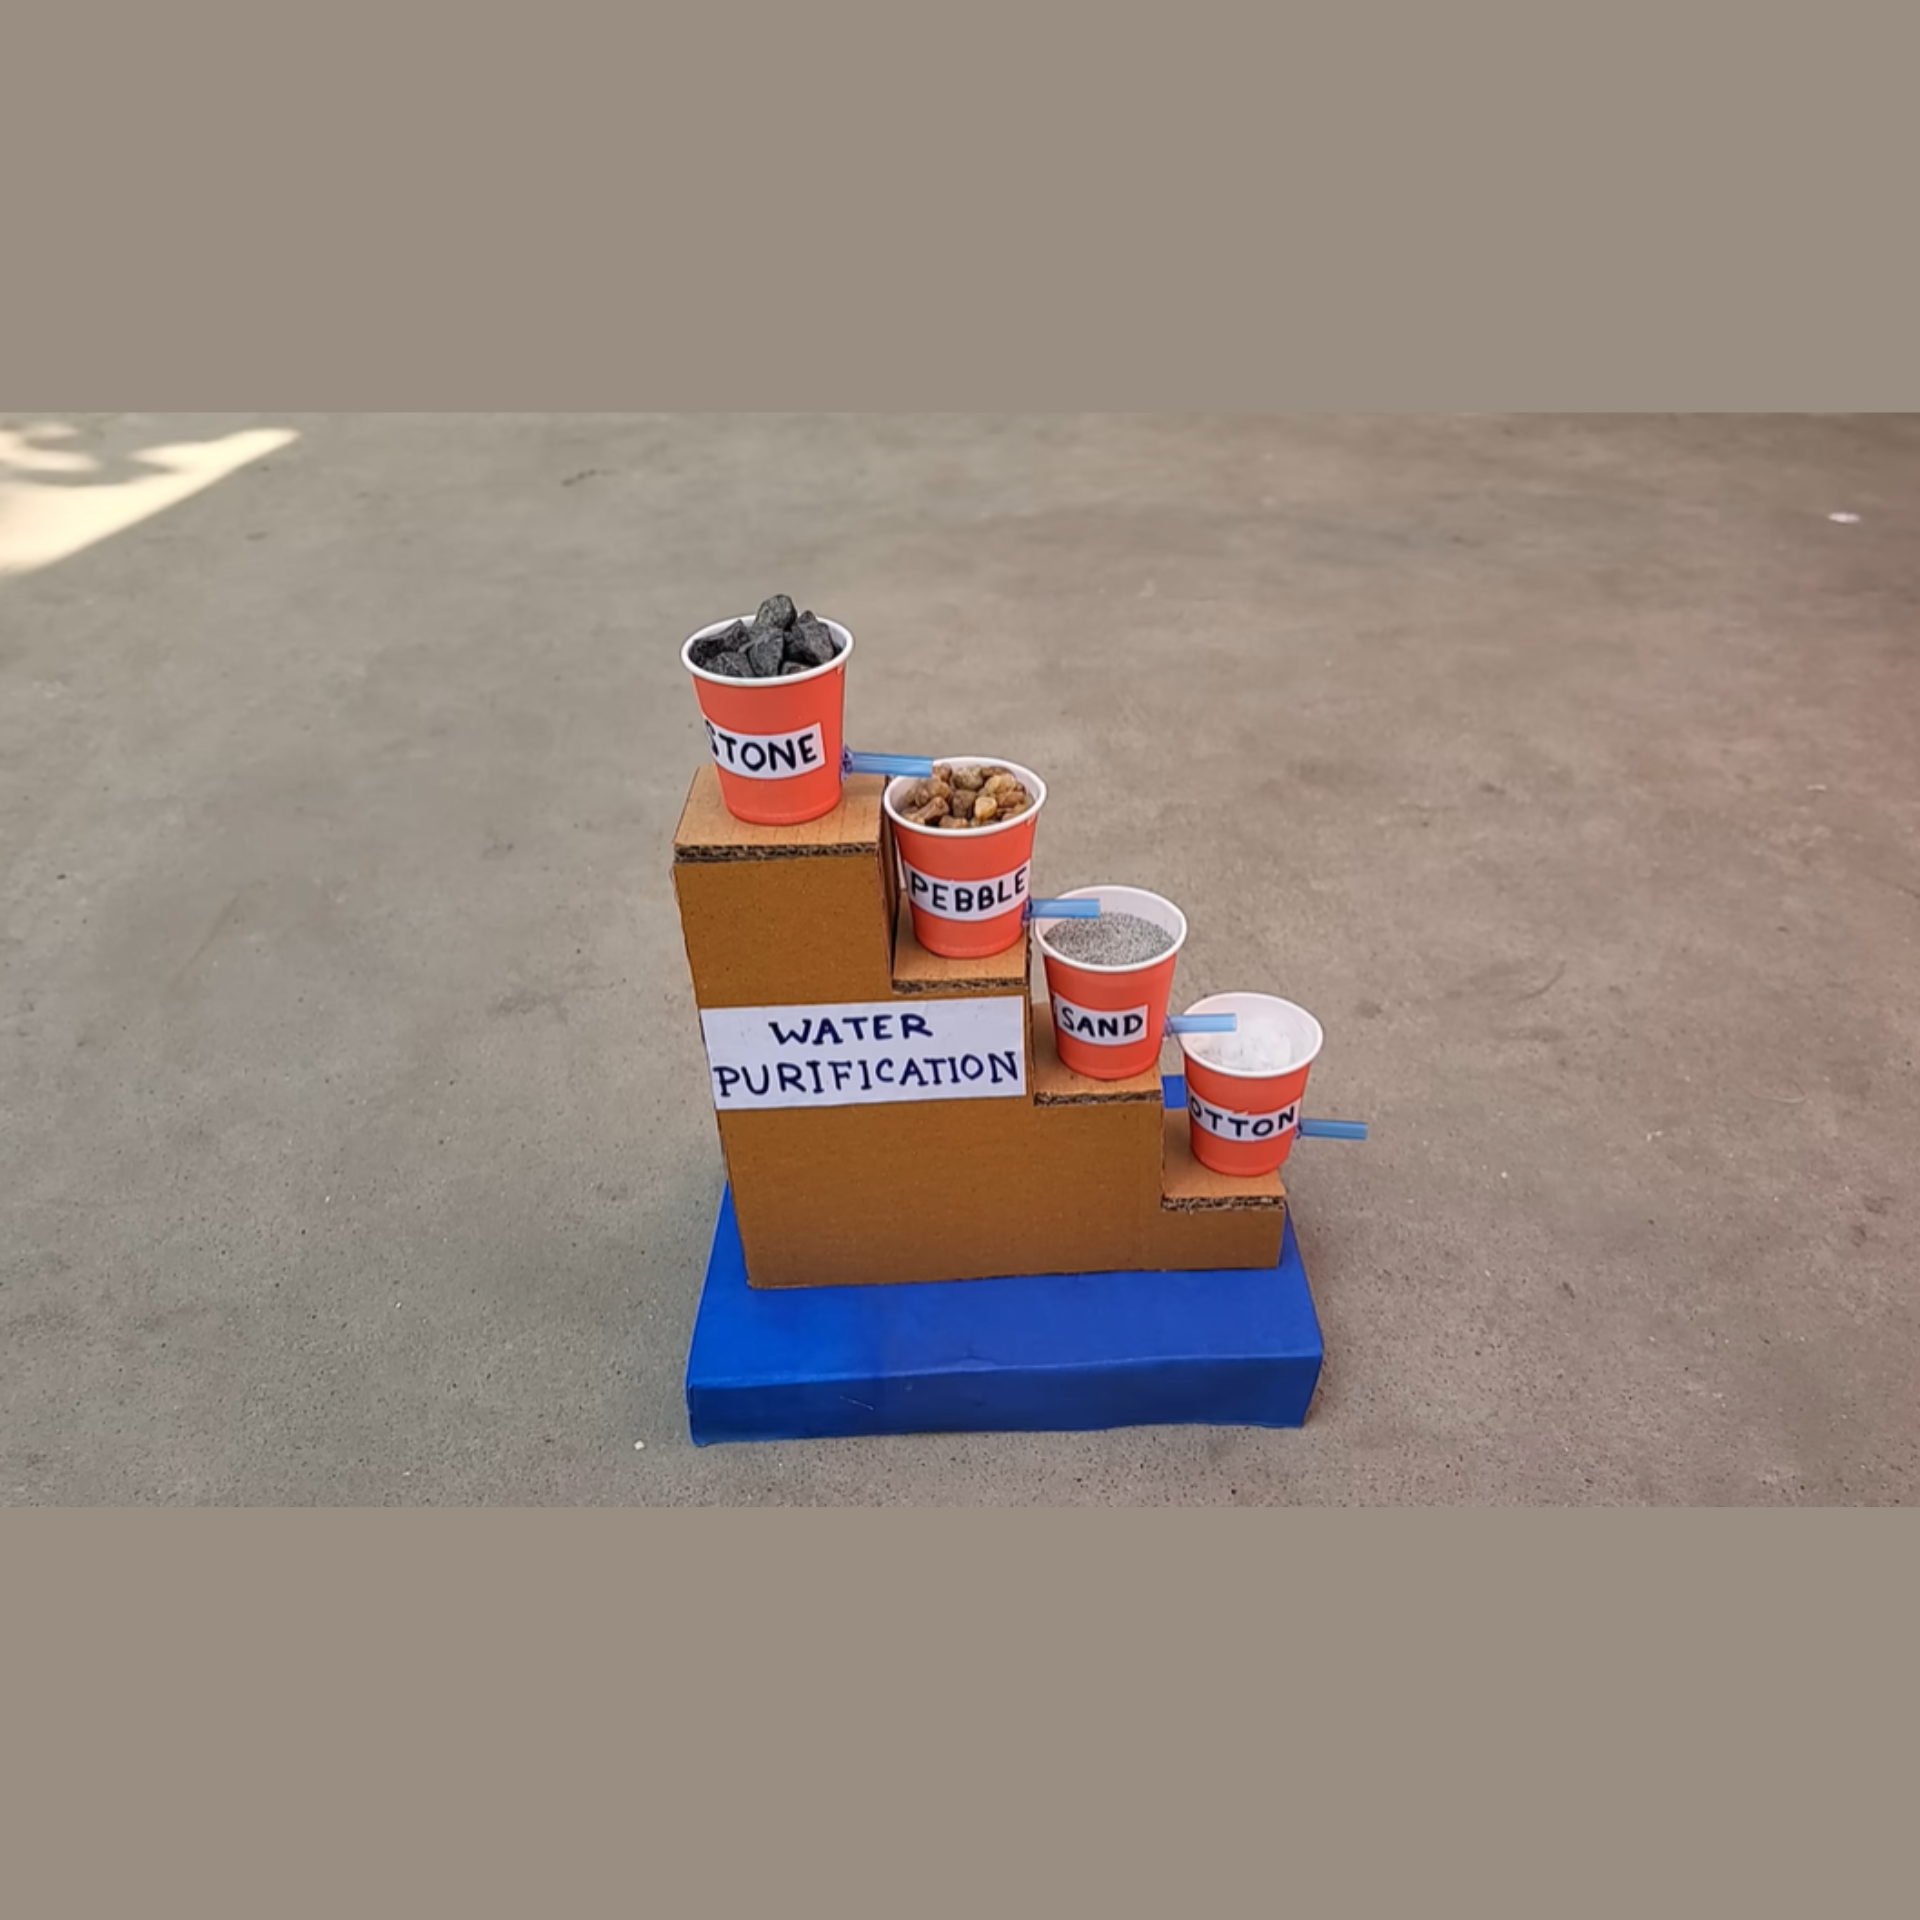
Water filtration science fair project is the best way to deliver your knowledge to others. This project teaches environmental science and demonstrates how polluted water can be cleaned.
Materials Required:
-
Large plastic bottles (cut in half)
-
Gravel
-
Sand (coarse and fine)
-
Activated charcoal
-
Cotton balls
-
Coffee filters
-
Muddy water sample
-
Clear containers for before/after comparison
Procedure:
-
Turn the top half of a plastic bottle upside down (like a funnel).
-
Layer materials in this order from bottom to top: cotton balls, coffee filter, activated charcoal, fine sand, coarse sand, small gravel.
-
Place the filter system over a clean container.
-
Slowly pour muddy water through the system.
-
Collect and observe the filtered water.
-
Compare before and after samples.
Precautions:
-
Do not drink the filtered water; this is a demonstration only.
-
Wash hands thoroughly after handling charcoal and dirty water.
-
Dispose of materials properly after the experiment.
9. Balloon Car
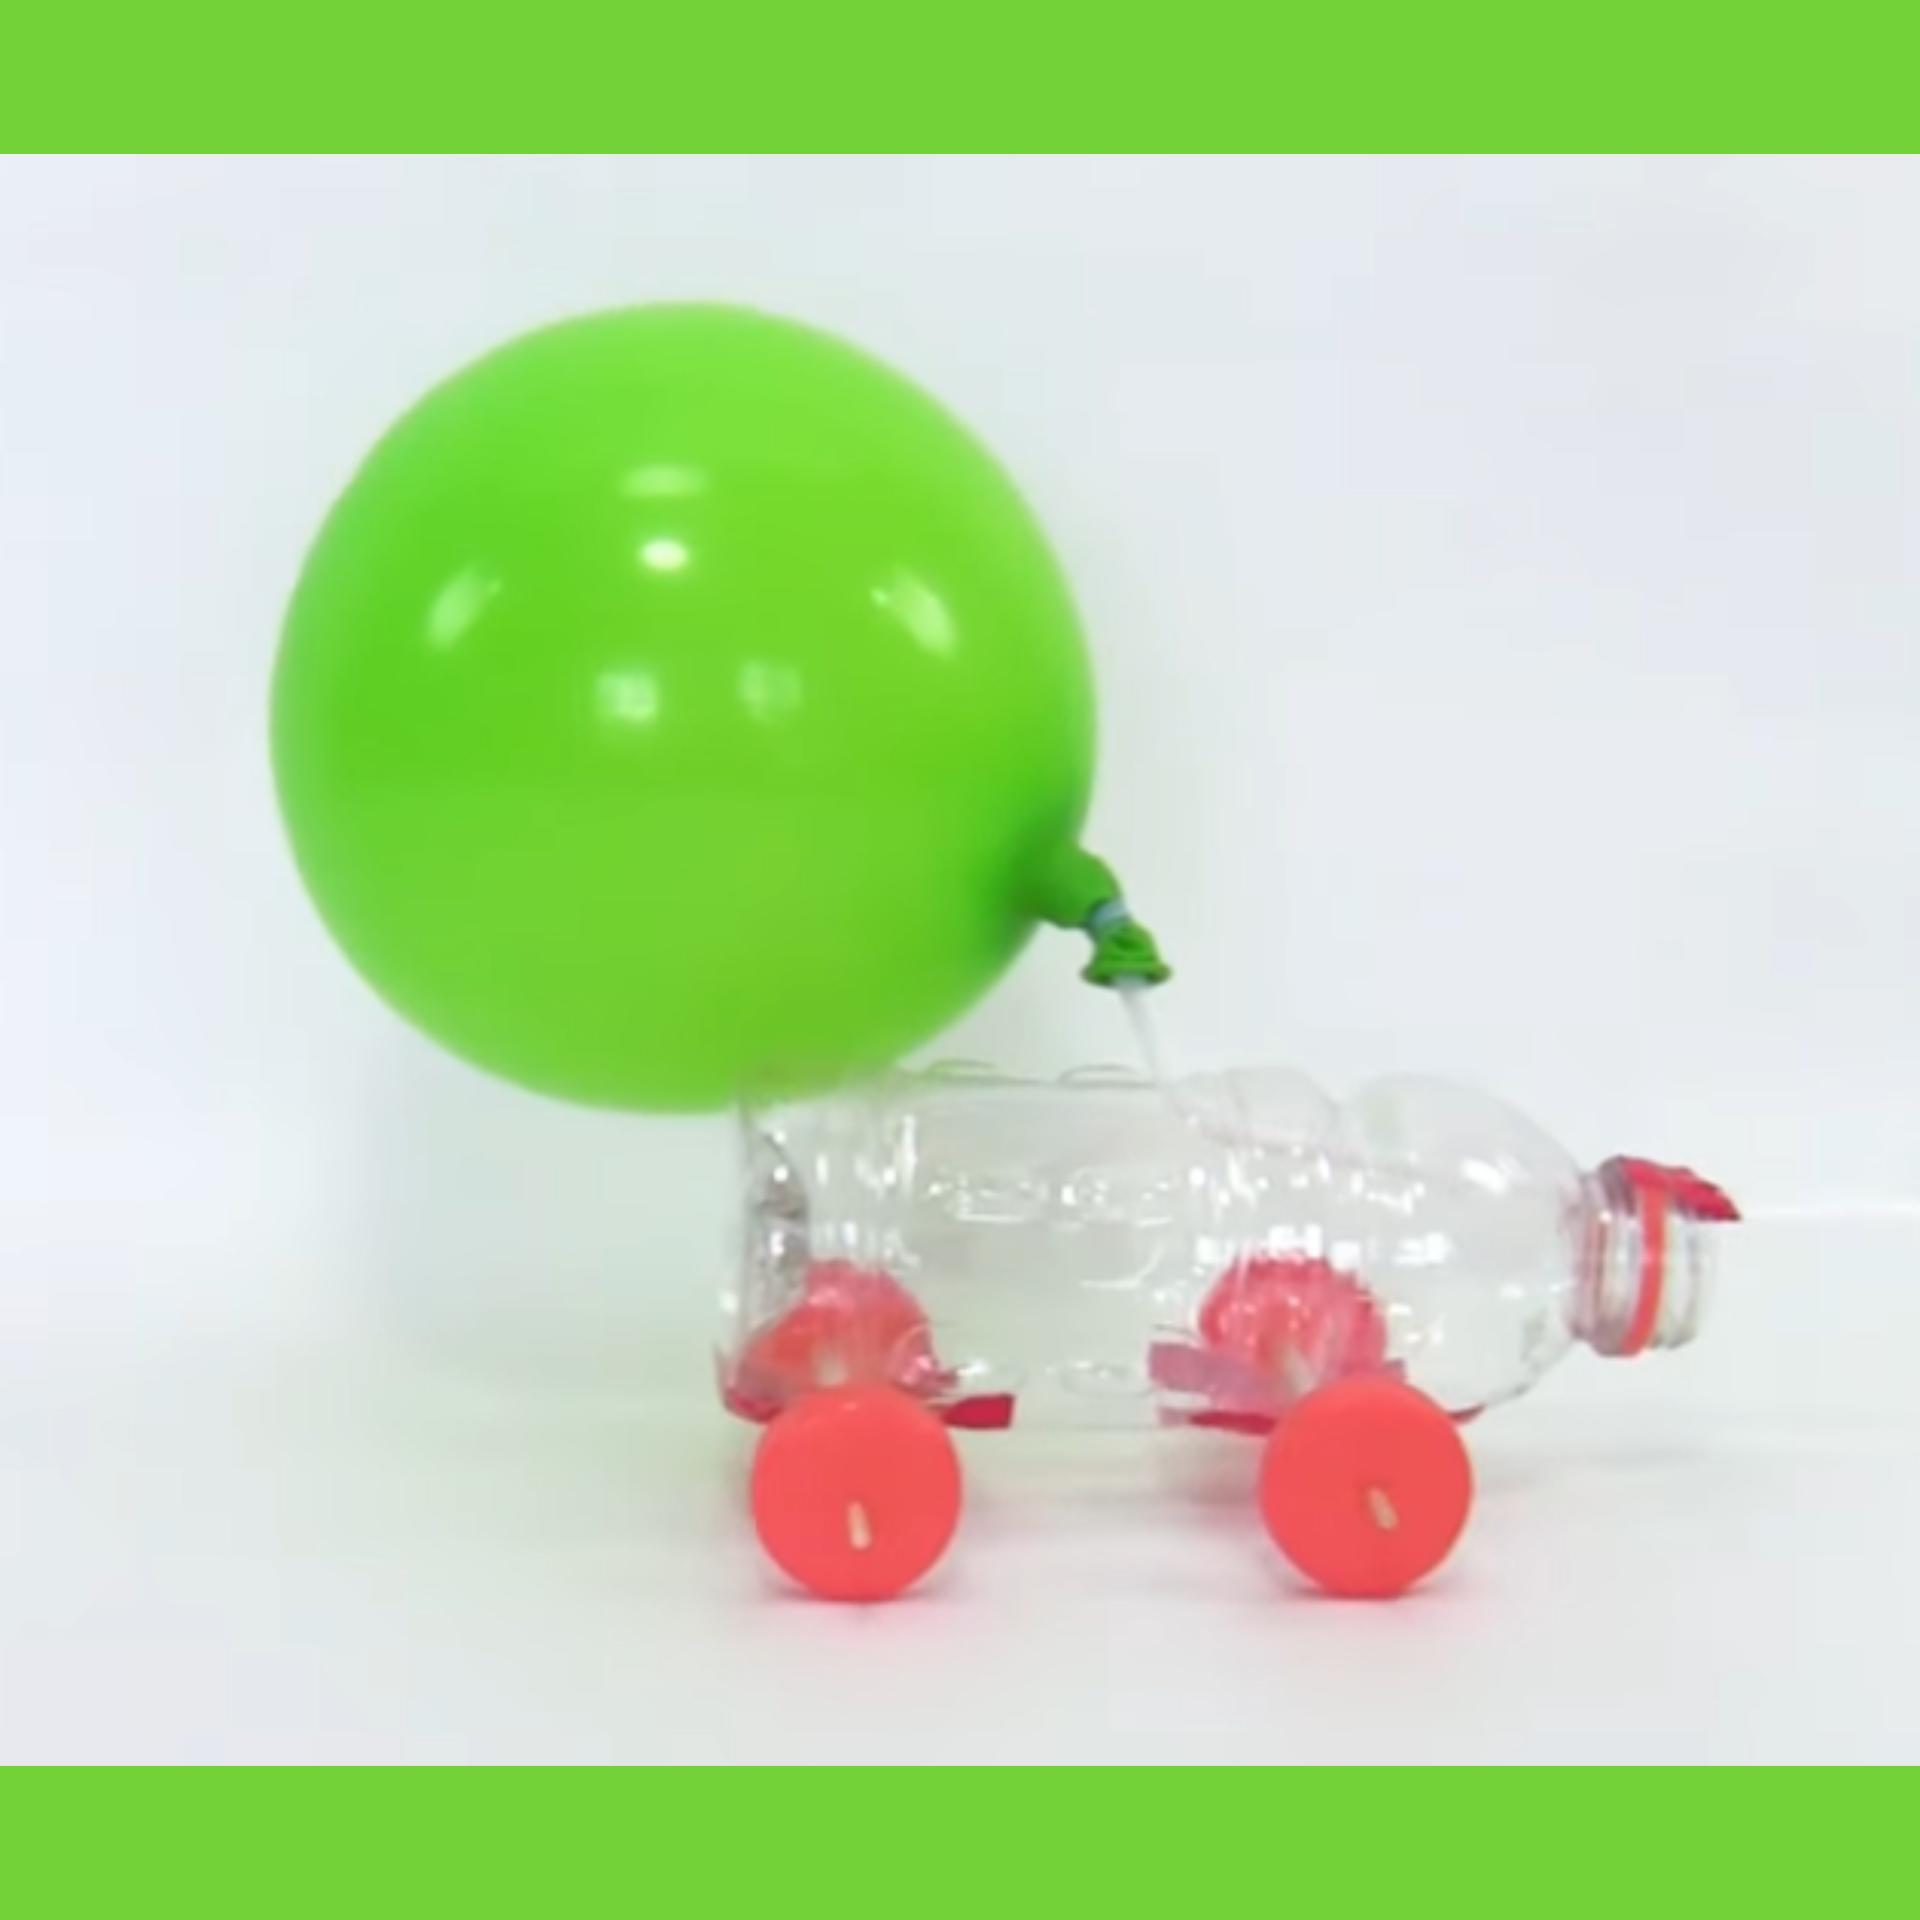
A balloon car demonstrates Newton's Third Law of Motion: for every action, there is an equal and opposite reaction.
Materials Required:
-
Rigid cardboard or plastic tray
-
4 bottle caps or small wheels
-
Straws or skewers for axles
-
Balloon
-
Tape
-
Hot glue gun
-
Scissors
Procedure:
-
Turn the tray upside down to create the car body.
-
Attach bottle caps to the ends of straws or skewers to make wheels.
-
Create holes or attachments for the axles on the tray.
-
Poke a hole in the center of the tray and insert a straw.
-
Attach the balloon to the straw with tape.
-
Inflate the balloon through the straw, pinch to hold air in.
-
Place the car on a smooth surface and release it.
Precautions:
-
Use caution with scissors and sharp objects.
-
Test on appropriate surfaces to avoid damage.
-
Keep small parts away from younger children.
10. Human Respiratory System Model
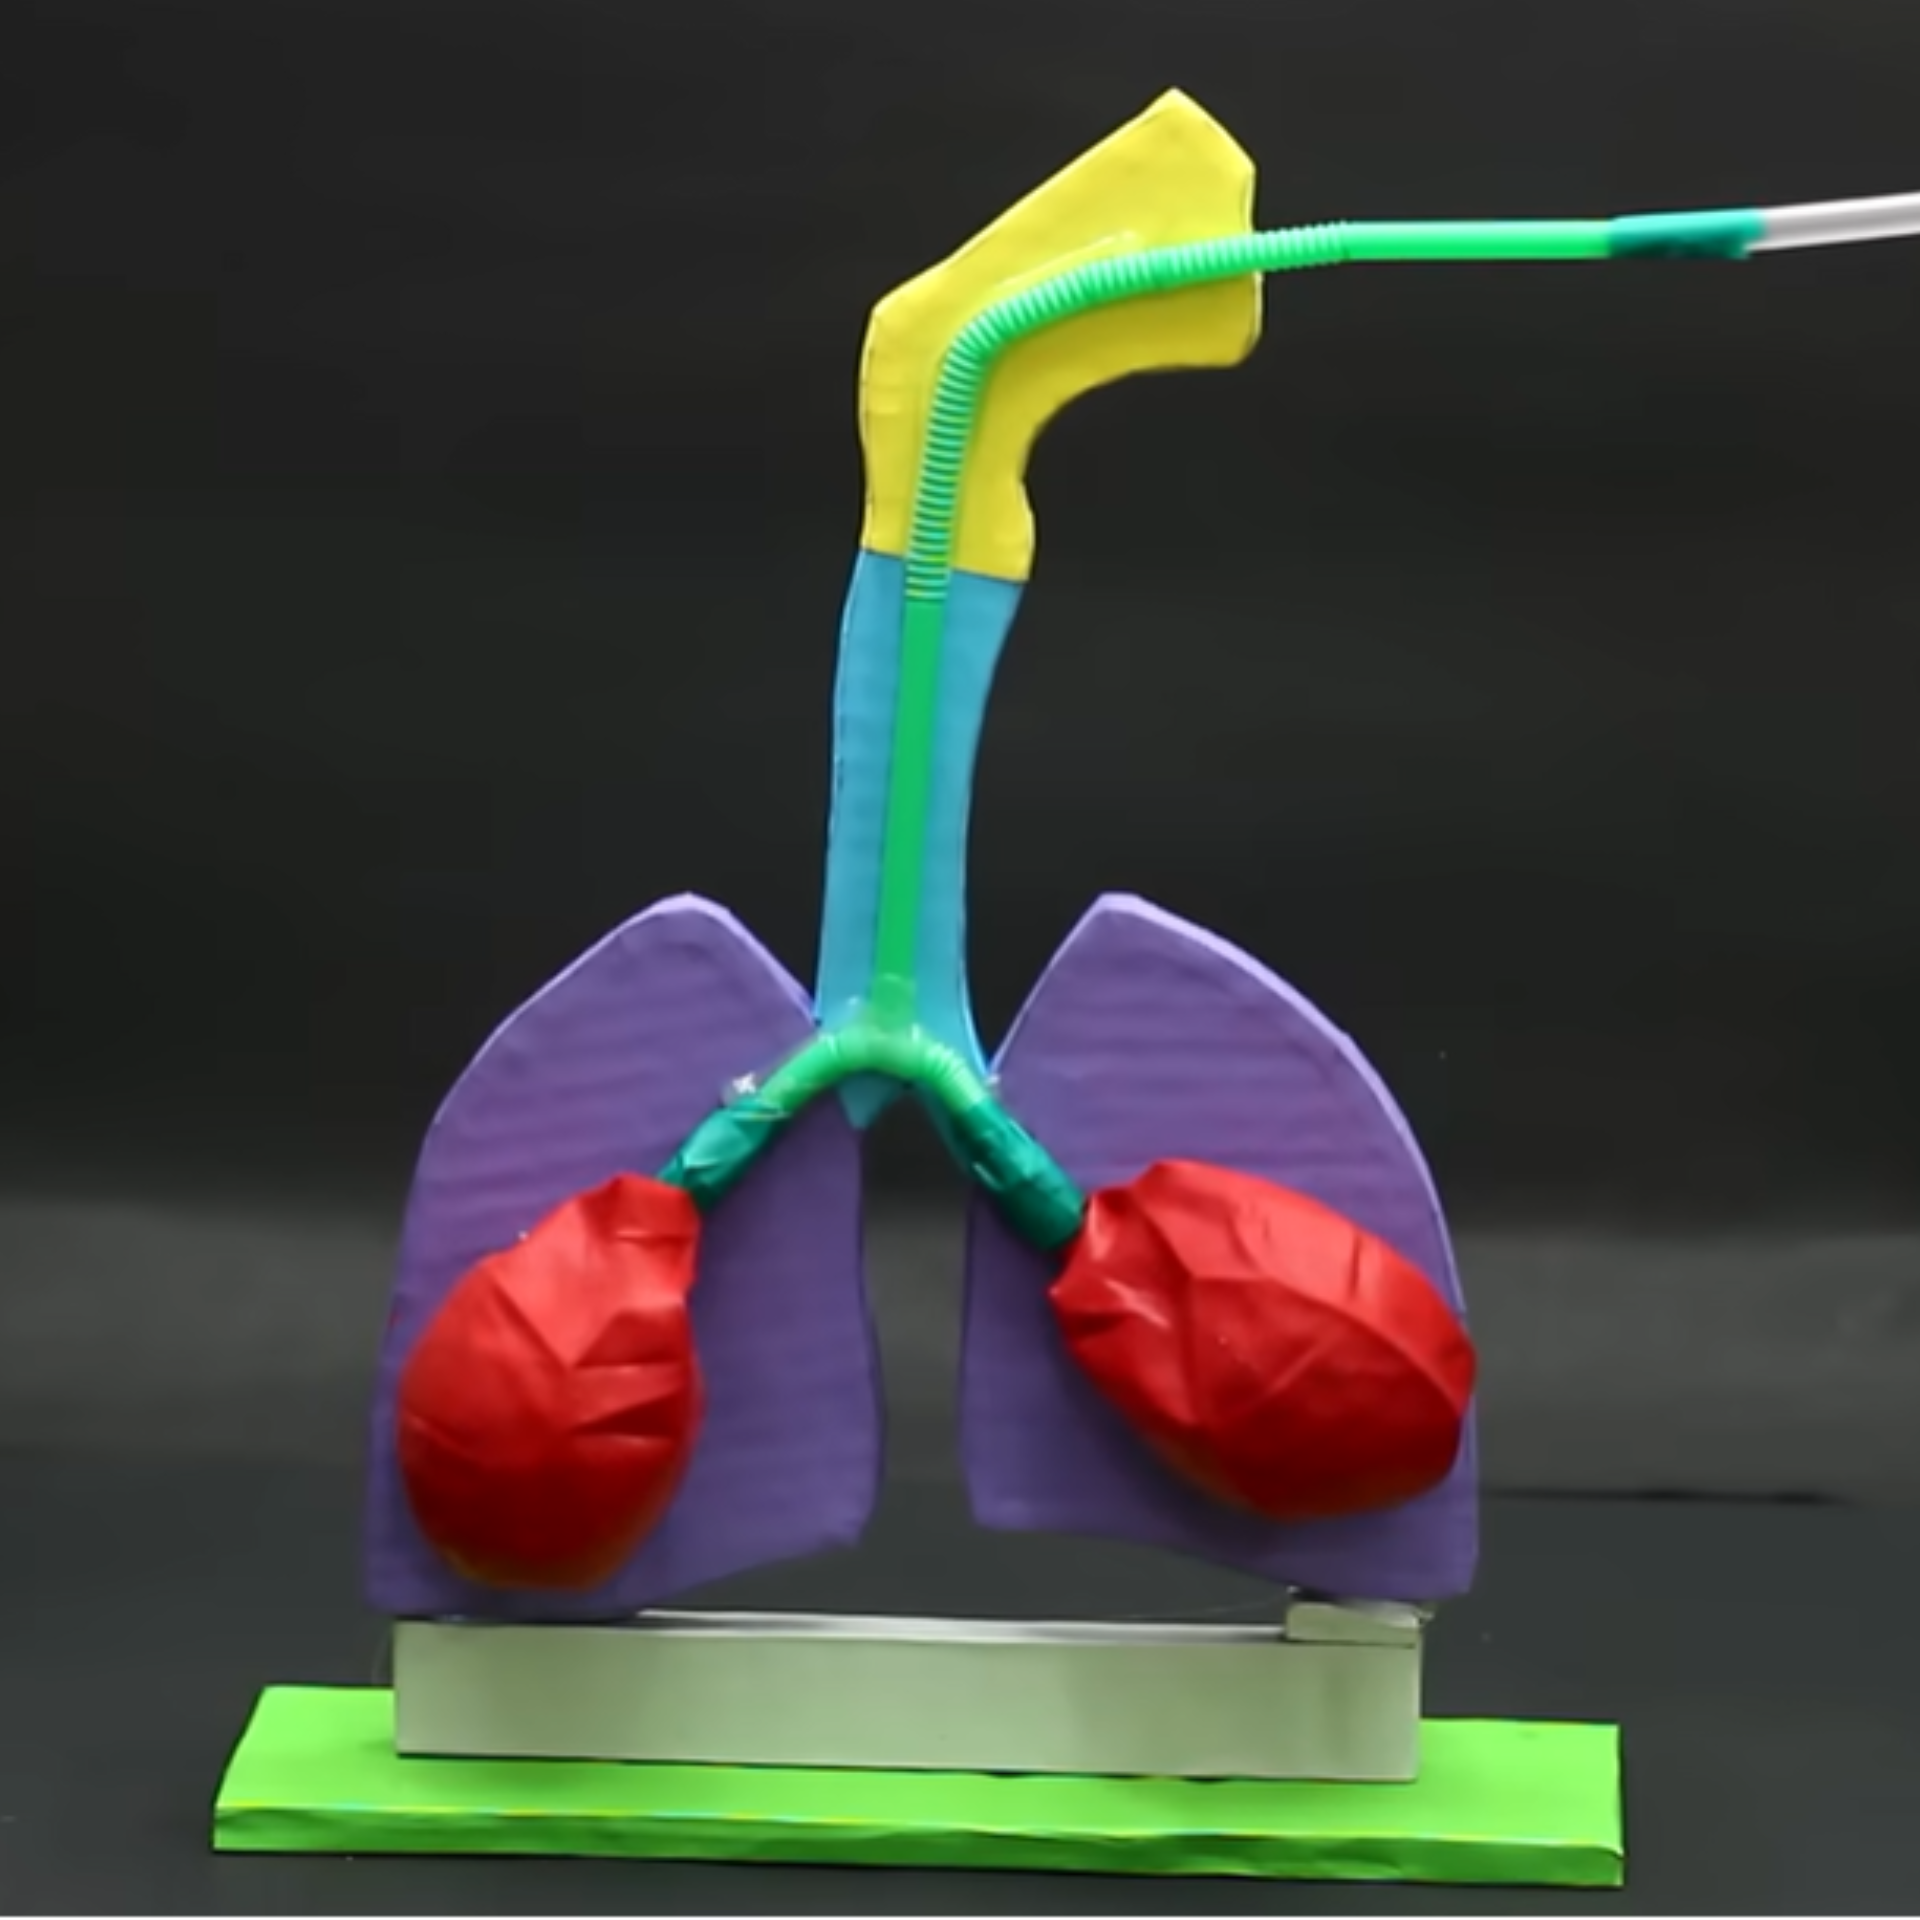
This educational model shows how our lungs work and demonstrates the mechanics of breathing.
Materials Required:
-
Clear plastic bottle (bottom cut off)
-
Two small balloons
-
One large balloon
-
Two straws
-
Rubber bands
-
Modeling clay or putty
-
Tape
Procedure:
-
Push two straws through the bottle cap and seal with clay.
-
Attach small balloons to the ends of the straws inside the bottle.
-
Secure with rubber bands.
-
Cut the large balloon in half and stretch it over the open bottom of the bottle.
-
Secure with tape or a rubber band.
-
Pull down on the large balloon to see the small balloons inflate.
-
Push the large balloon in to see the small balloons deflate.
Precautions:
-
Students with latex allergies should not handle balloons.
-
Keep small parts away from younger children.
-
Adult supervision recommended when cutting the bottle.
These science projects for class 6 to class 10 are very easy to explore through which students can learn real experimentation. Remember that safety should always be the top priority when conducting any science experiment. Students should wear appropriate safety equipment such as goggles when necessary, and adult supervision is recommended, especially for projects involving chemicals or tools. Through these projects, students can develop critical thinking skills, learn scientific concepts, and have fun discovering how science works!
Best Schools
- Best Schools in Hyderabad
- Best Schools in Bangalore
- Best Schools in Chennai
- Best Schools in Gurgaon
- Best Schools in Pune
- Best Schools in Kolkata
- Best Schools in Mumbai
- Best Schools in Jaipur
- Best Schools in Indore
- Best Schools in Thane
- Best Schools in Bhopal
- Best Schools in Nagpur
- Best Schools in Aurangabad
- Best Schools in Jodhpur
- Best Schools in Jabalpur
- Best Schools in Noida
- Best Schools in Delhi
CBSE Schools
- CBSE Schools in Kolkata
- CBSE Schools in Chennai
- CBSE Schools in Hyderabad
- CBSE Schools in Bangalore
- CBSE Schools in Pune
- CBSE Schools in Mumbai
- CBSE Schools in Jaipur
- CBSE Schools in Nagpur
- CBSE Schools in Thane
- CBSE Schools in Aurangabad
- CBSE Schools in Jodhpur
- CBSE Schools in Indore
- CBSE Schools in Jabalpur
- CBSE Schools in Bhopal
- CBSE Schools in Gurgaon
- CBSE Schools in Noida
- CBSE Schools in Delhi


Get In Touch
Your questions deserve expert answers Let's Talk